Work Examples
TPS / UNREAL ENGINE 5 / PERSONAL PROJECT
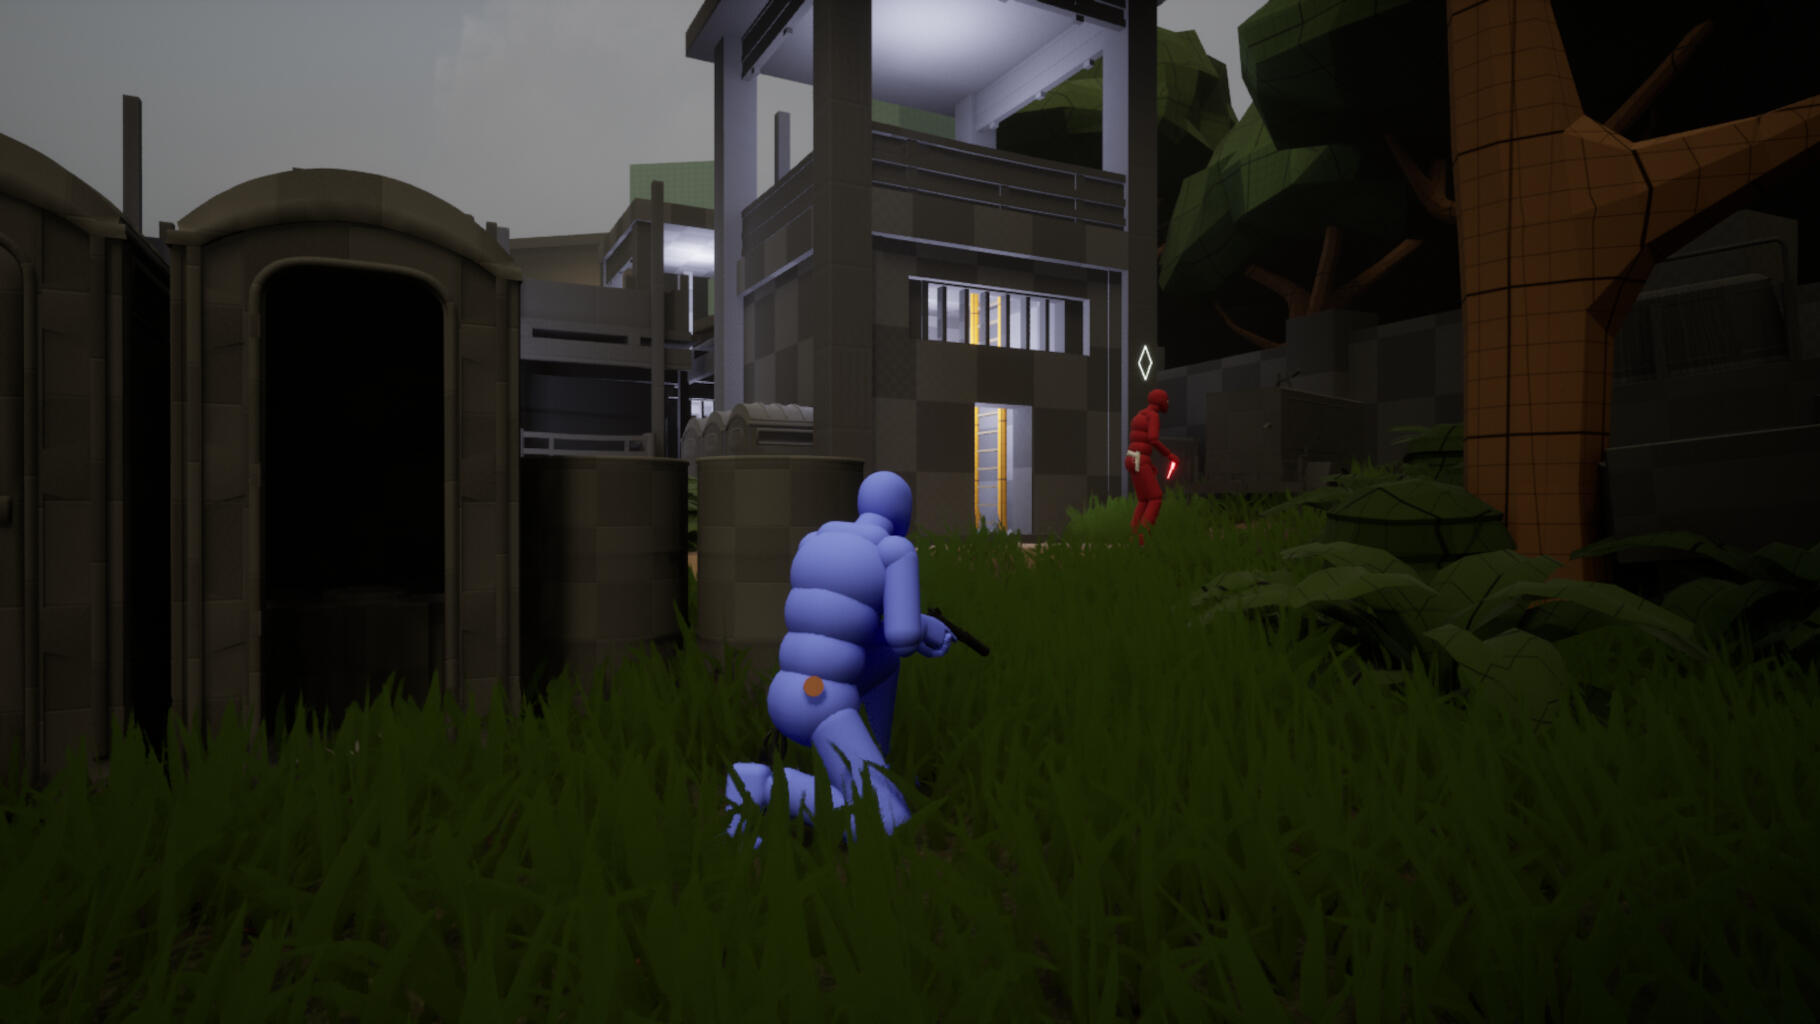
Stealth Shooter Level Demo
SIMULATOR / UNITY / COMMERCIAL PROJECT

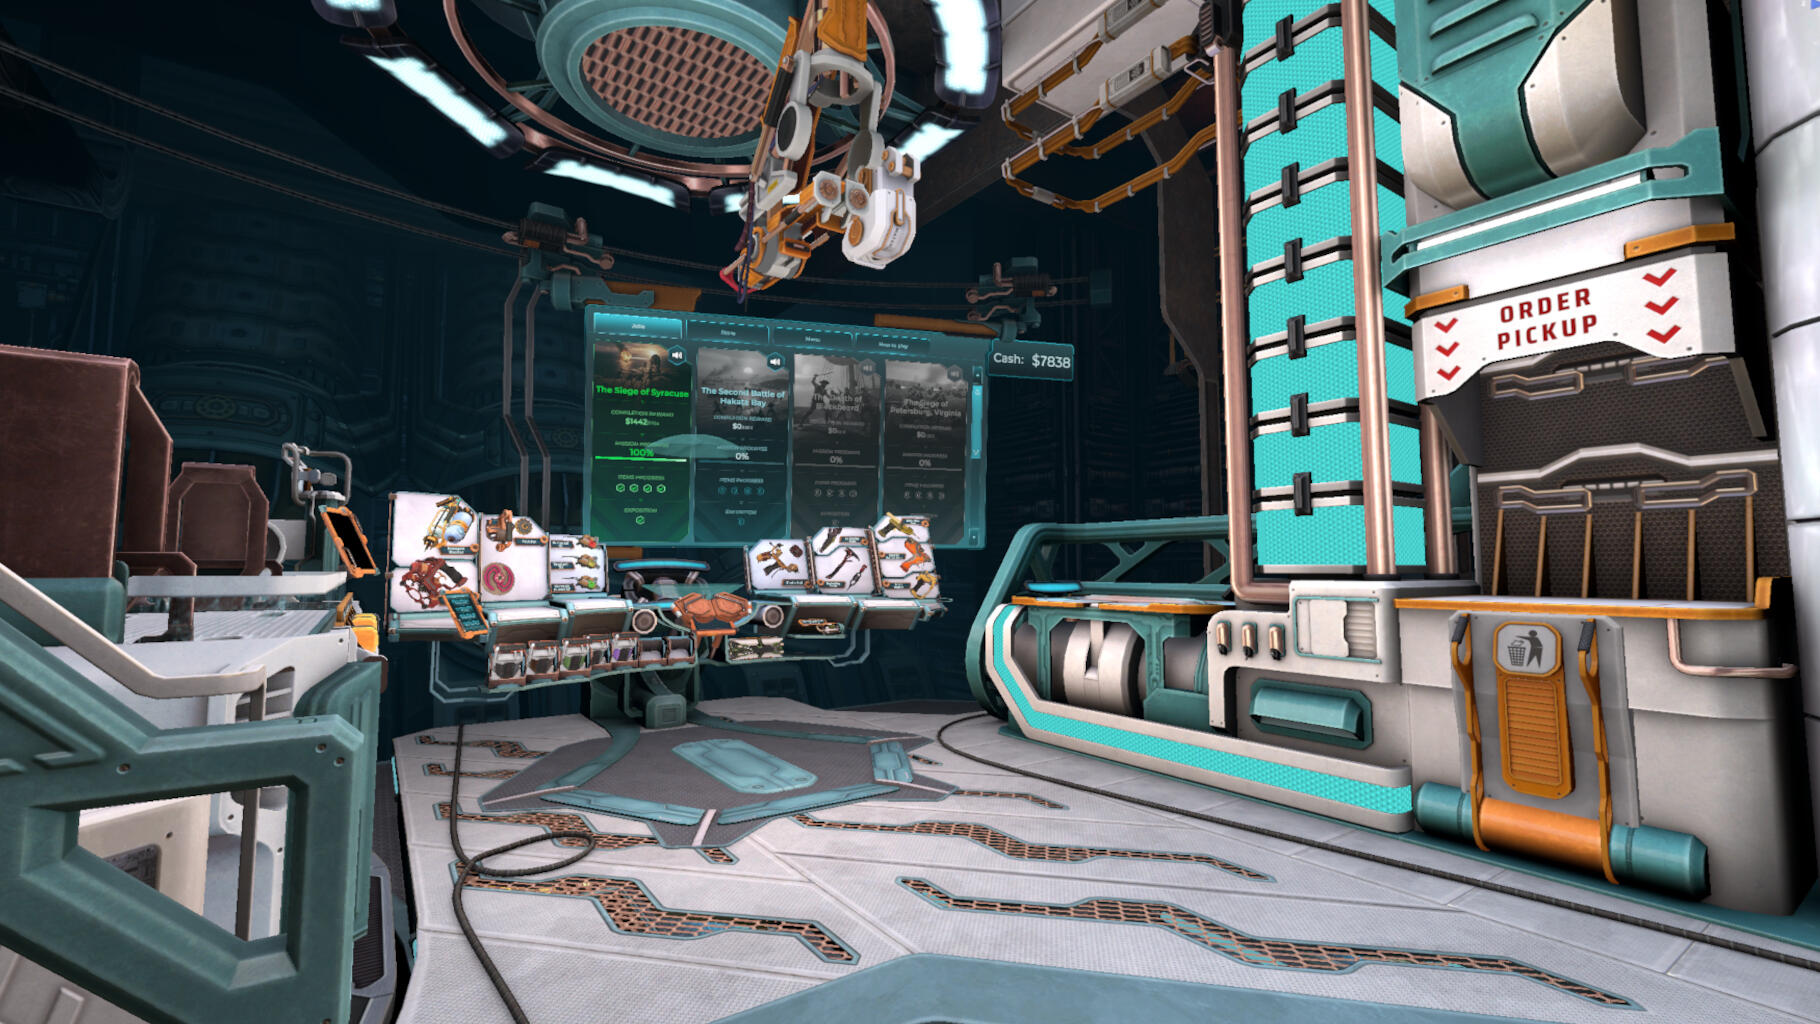
Workshop Simulator VR
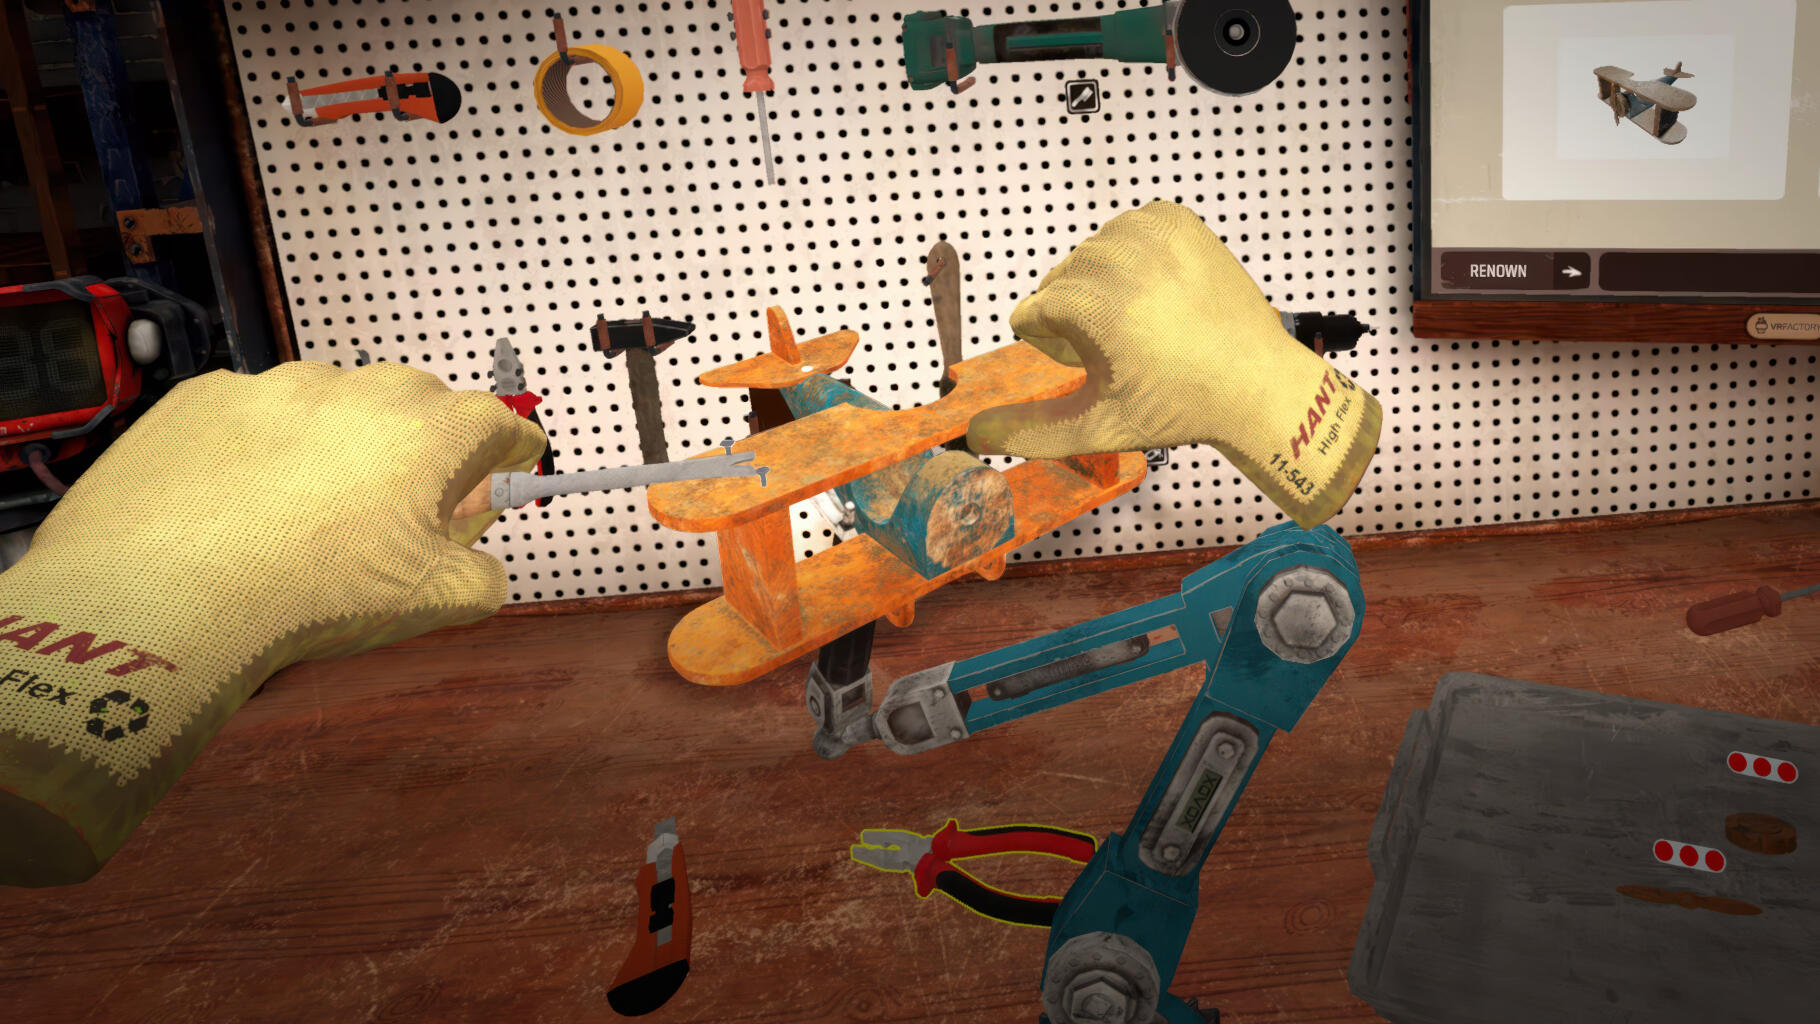
HORROR / UNREAL ENGINE 4 / PERSONAL PROJECT

PROJECT CHTHONIC SIREN
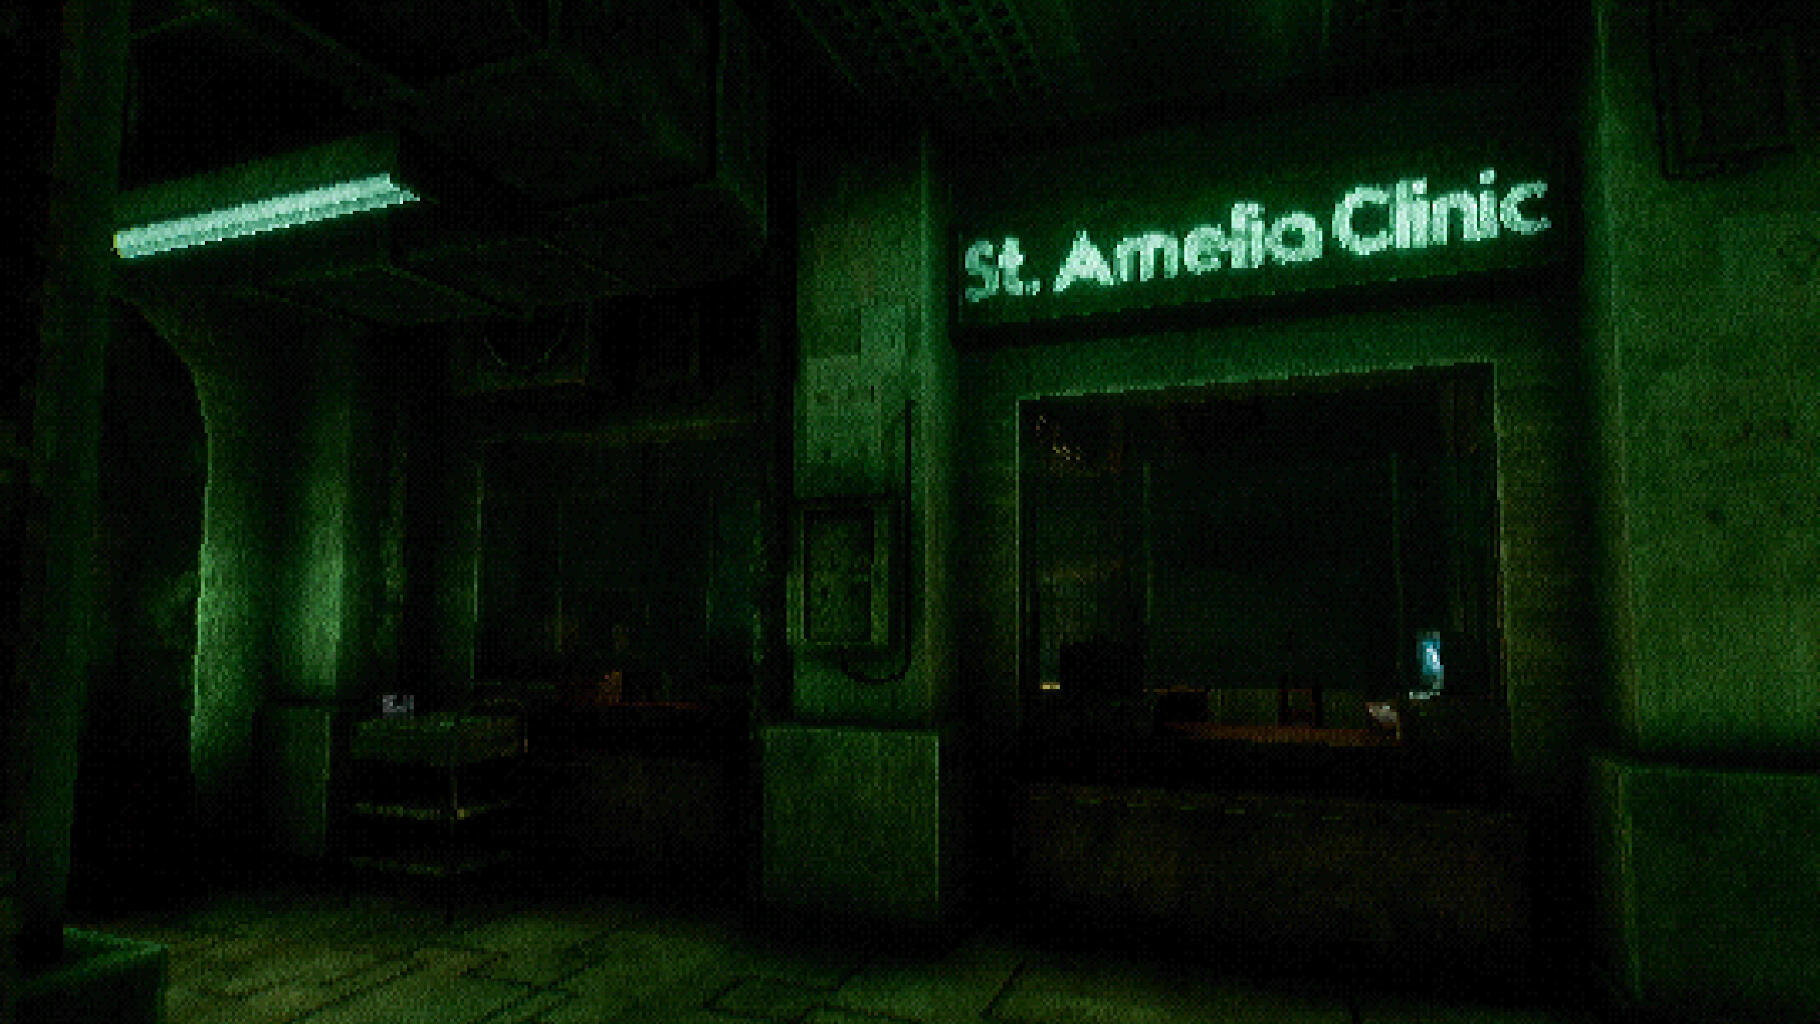
SIMULATOR / UNITY / COMMERCIAL PROJECT

Battlecrafter VR
PLATFORMER / UNREAL ENGINE 5 / GAMEJAM PROJECT

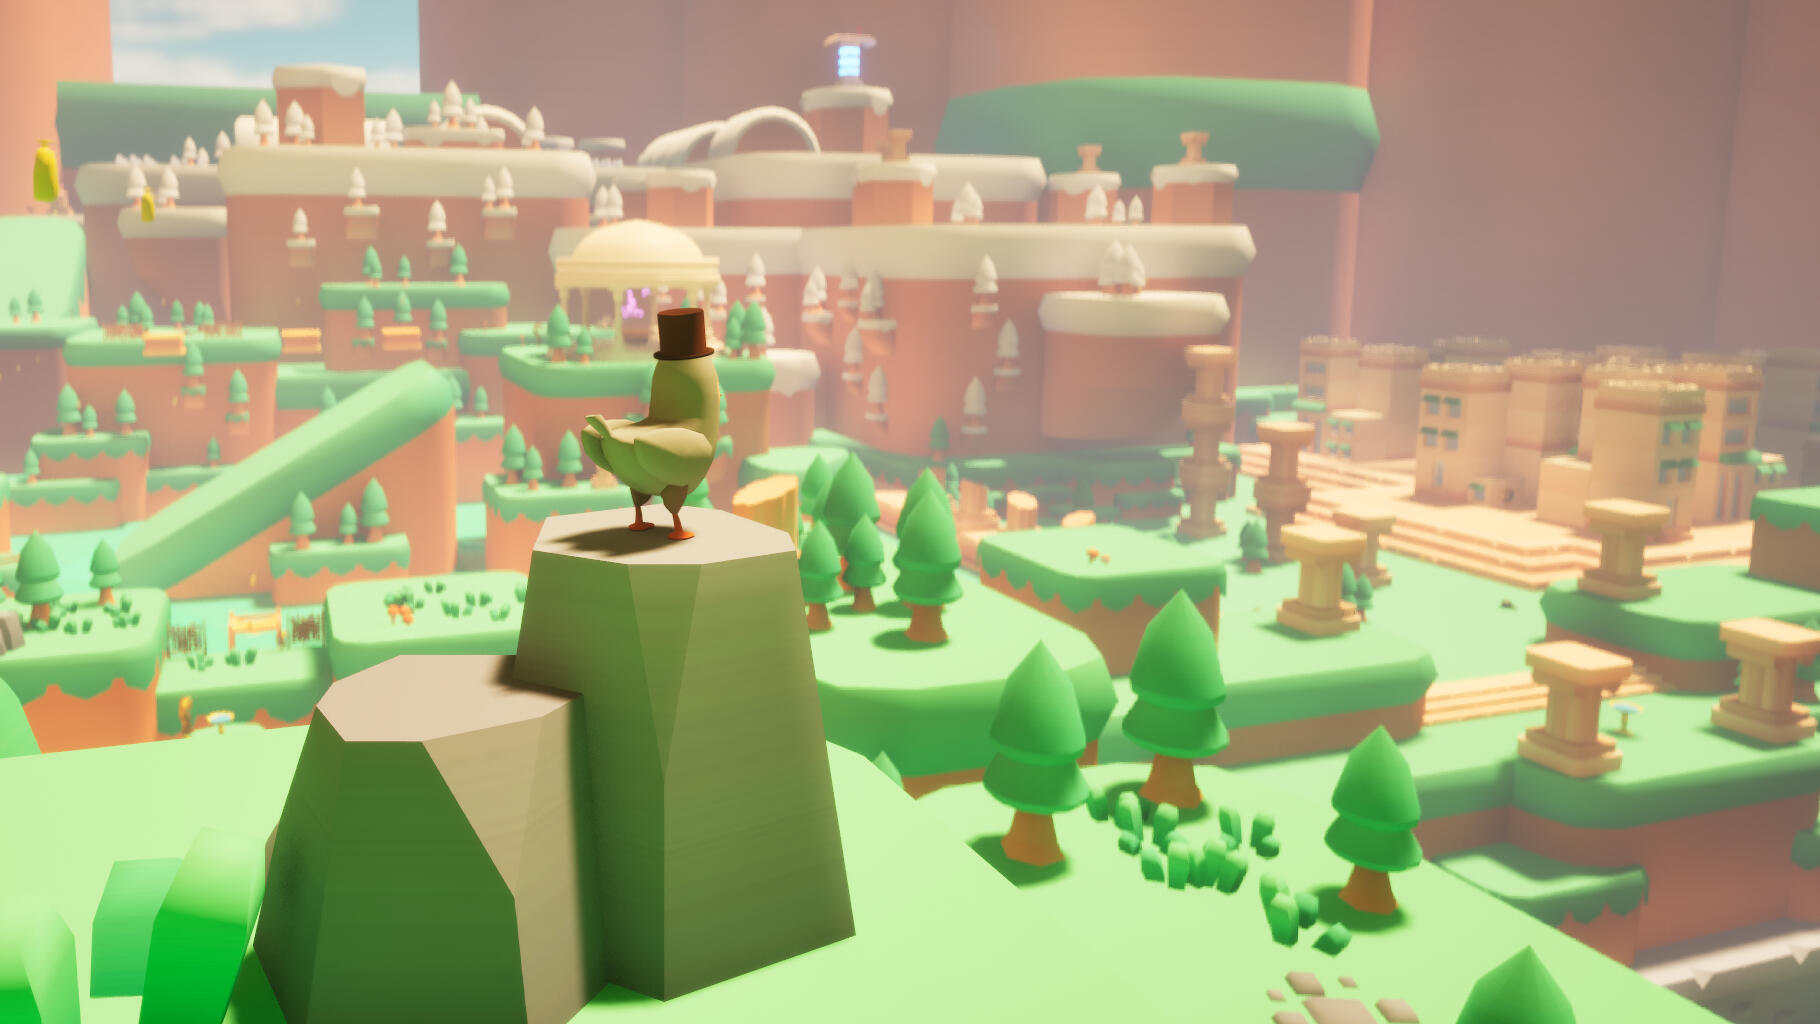
Wine Quest
HORROR / UNREAL ENGINE 4 / PERSONAL PROJECT

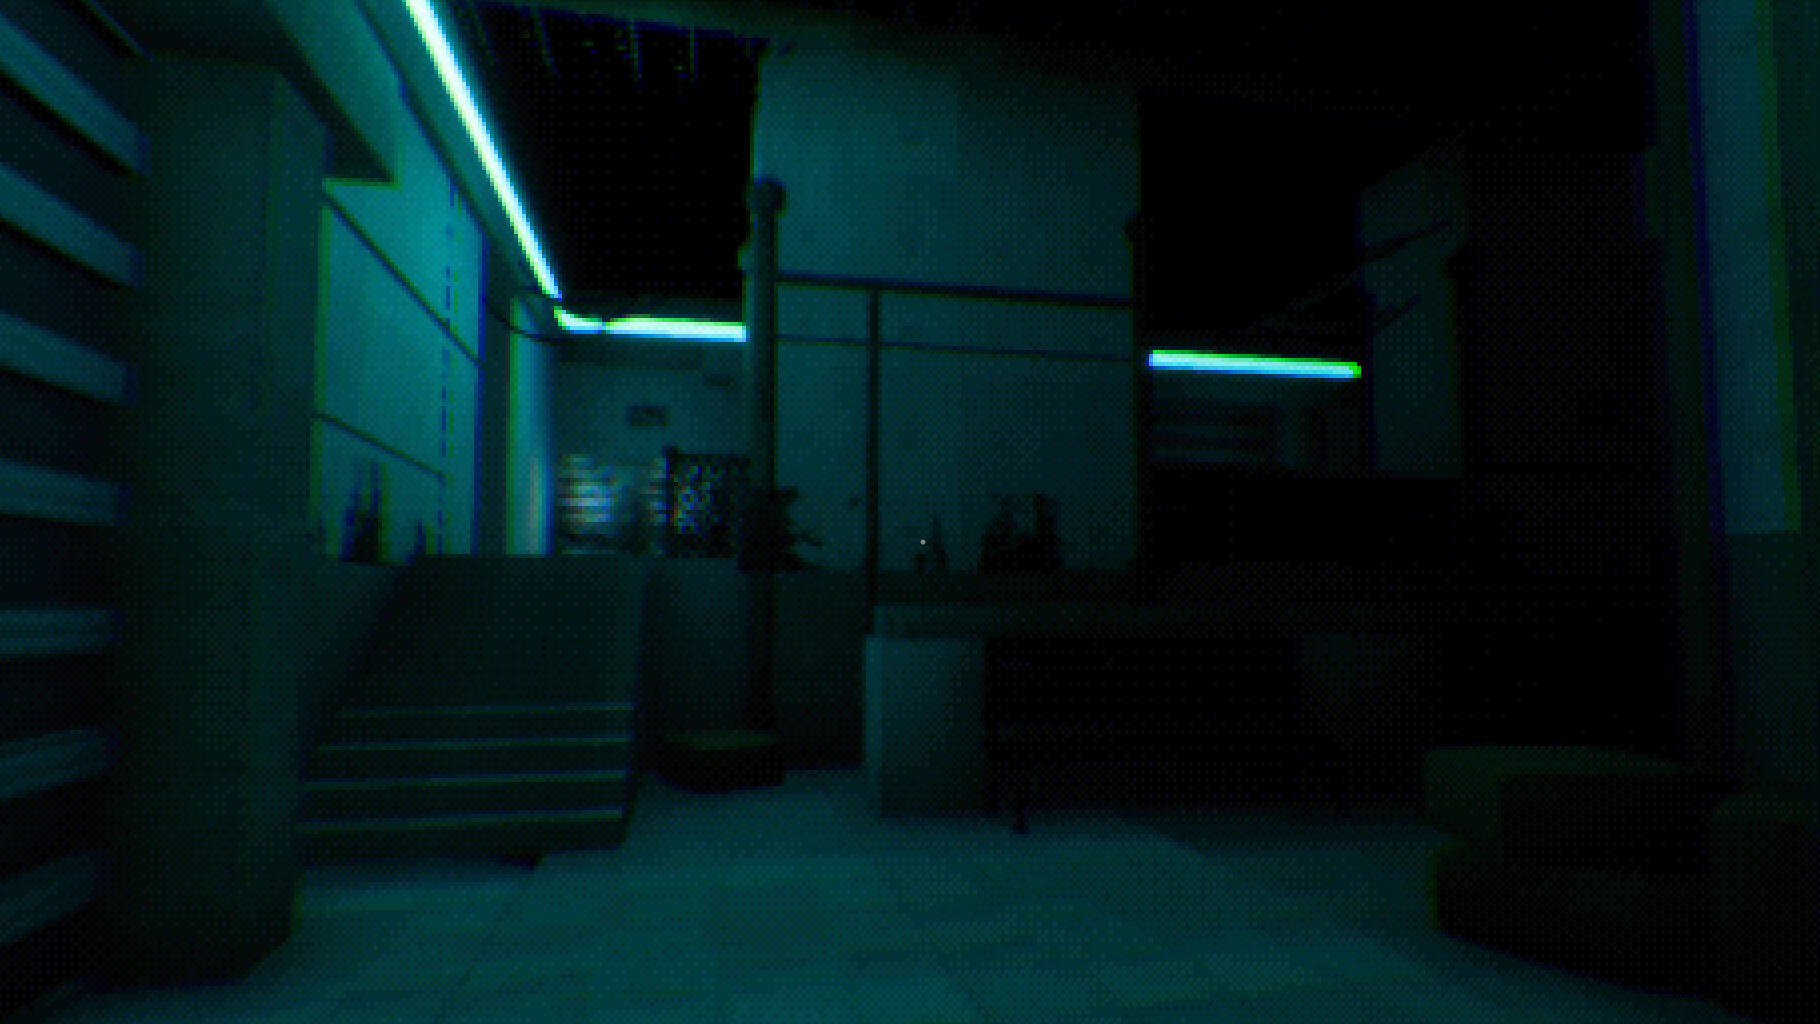
Something Inside The Well
Resume
Education
UNIVERSITY OF SILESIA IN KATOWICE:
English Studies: Interactive Entertainment Design (SPRINT-WRITE)
Bachelor Degree / 2020-2023
UNIWERSYTET ŚLĄSKI W KATOWICACH:
Filologia angielska: Projektowanie rozrywki interaktywnej i groznawstwo (SPRINT-WRITE)
Licencjat / 2020-2023
PROFESSIONAL EXPERIENCE
VR Factory Games
Level Designer: Workshop Simulator VR, Battlecrafter VR
Full time / 08.2023 - 03.2026
PixelAnt Games
Junior Software Engineer
Full time / 05.2026 - PRESENT
CV
About Me
Hello
Hi, my name is Filip!I'm a 24 year old university graduate, and for as long as I can remember, I always wanted to be involved in game production! I grew up playing Nintendo games, eventually broadened my horizons to appreciate all sorts of games and genres. Even as a kid, I already loved to make simple games with RPG Maker or Ren'Py. Right now, I'm aiming to continue this hobby and work hard to make my dreams of becoming an experienced level designer a reality!It's nice to meet you, whoever you are!
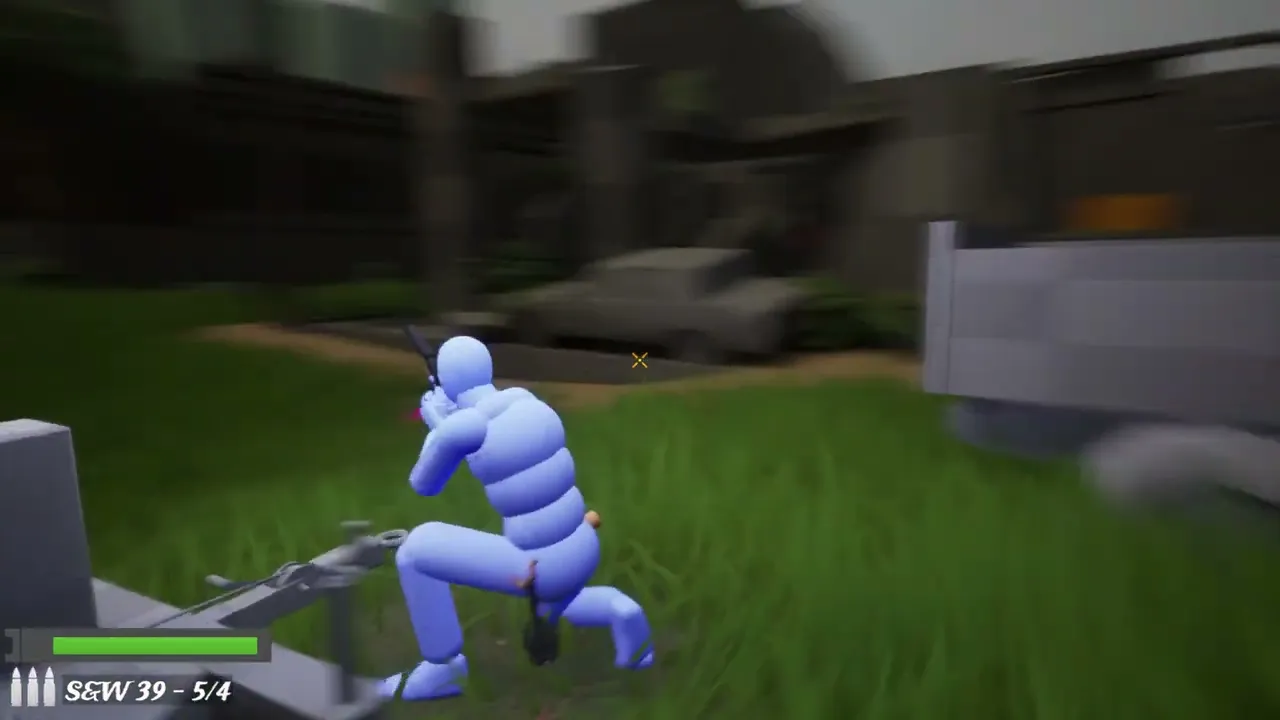
Stealth Shooter Level Demo
About:
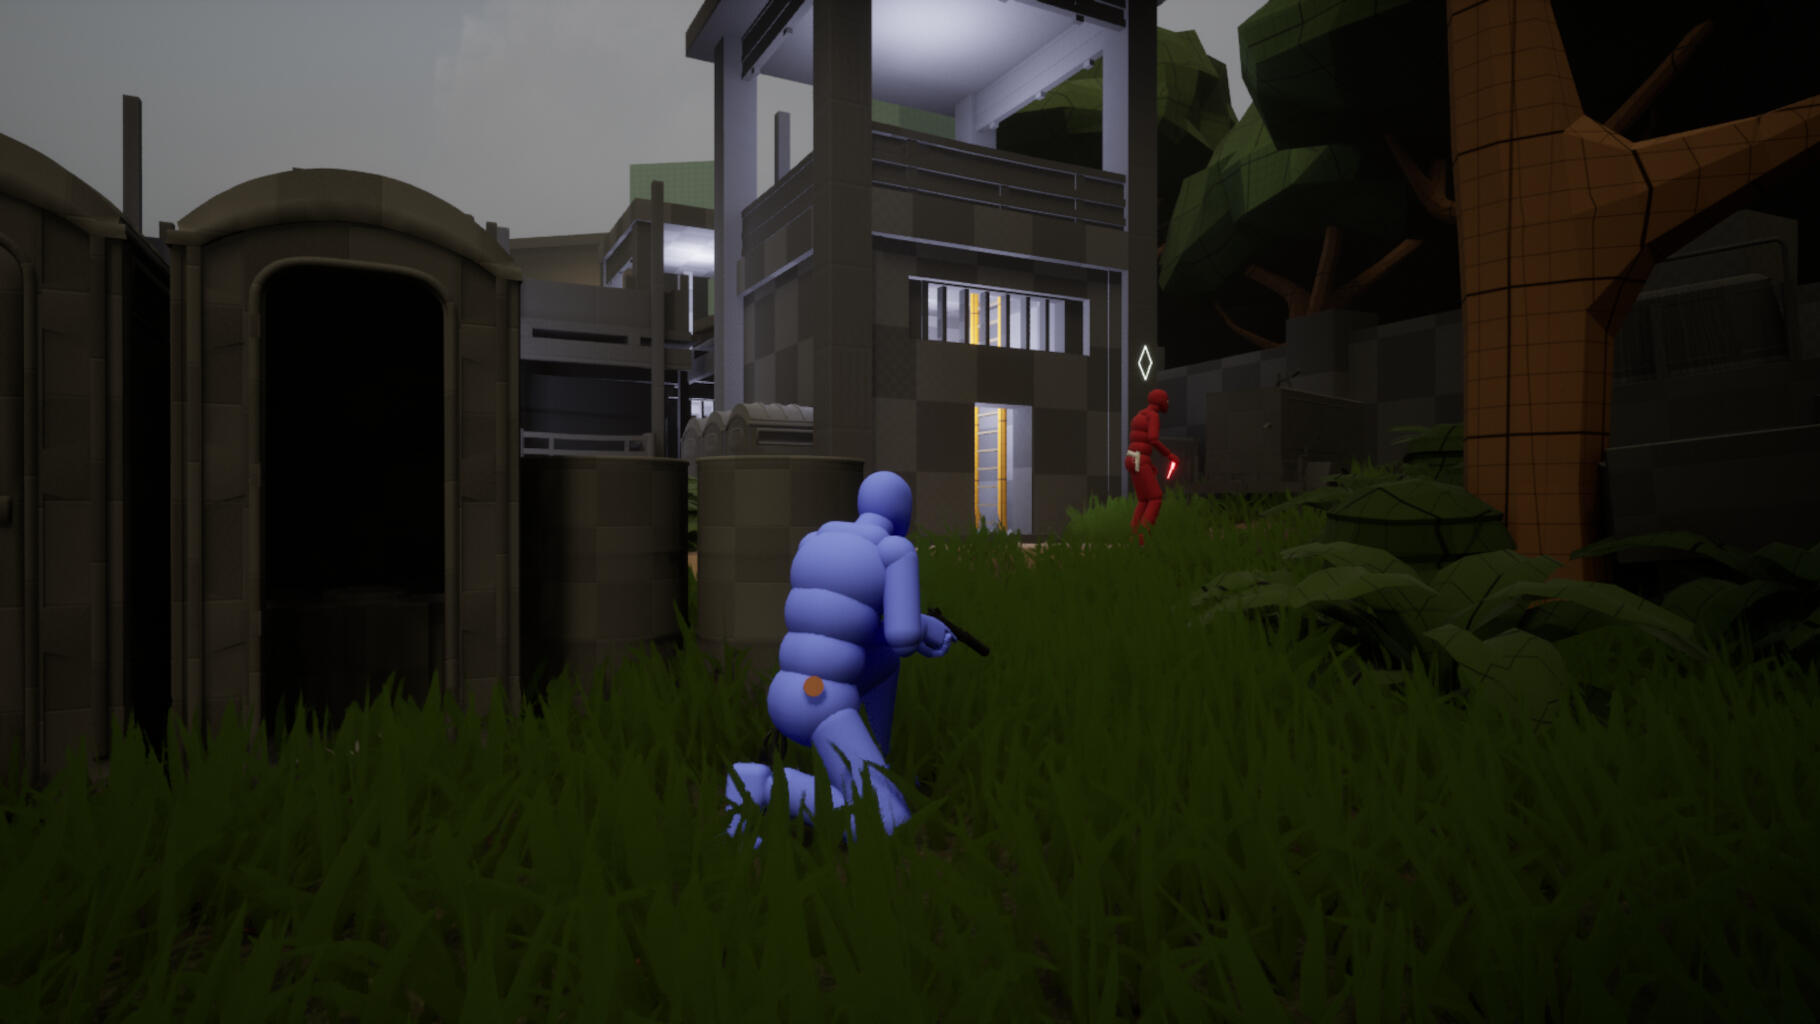
A short, semi-open blockout where the player is tasked with infiltrating a base guarded by armed enemies.My main goals designing this scenario were to:
- discourage direct combat
- encourage a stealthy playstyle
- reward exploration.The level itself was heavily inspired by the combat encounters found in The Last Of Us: Part II.The prototype was created using the IWALS project framework.
Engine: Unreal Engine 5
Project Type: Personal
Level Setting / initial conception
The level is set in the streets of a ruined, post-apocalyptic city. You have been tasked with breaching a mercenary base built in the middle of the ruined streets. The only issue: it's heavily guarded, so getting inside will be difficult.
I started designing the level by deciding on key ideas that needed to be included:
- The player has a gun with a muffler; any enemy can be instantly taken down with a headshot. Shooting any other body part is much less effective and takes a lot more hits.
- Multiple buildings the player can enter
- Loot that can be picked and actually benefit the player, rewarding exploration
- Stealthy playstyle has to be encouraged; enemies are often found in groups, and they are much stronger than the player character.
- The player has to be allowed to either sneak past every enemy or to take them out without using a weapon
- The level ends with the player entering the mercenary base. This entrance has to be heavily guarded; the main challenge has to involve getting past the enemy groups near it. the level will not include the interior of the base, it focuses purely on the process of getting inside.
I then ended up crating a quick sketch of the level; this served as a first draft. While eventually various areas would change (one of the buildings was cut completely, while the others changed their shape or were expanded), the general concept and layout stayed the same.


1. First Encounter (ruined store):
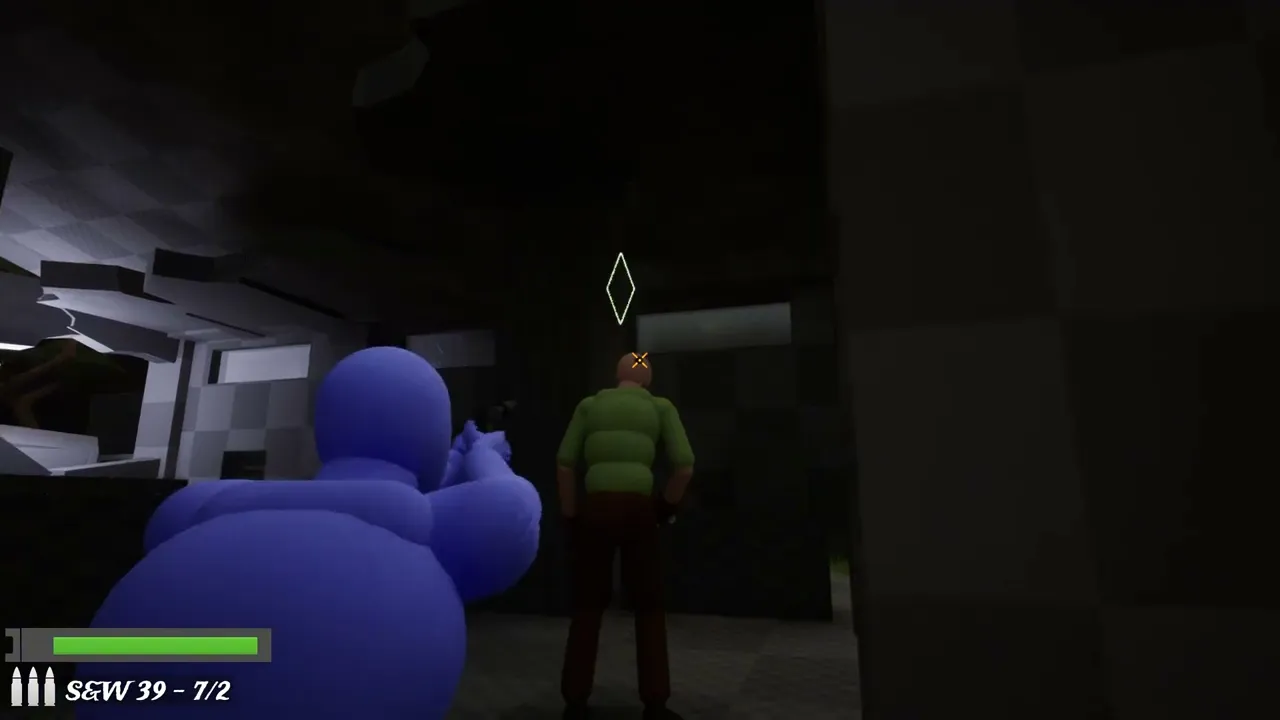
The level opens inside a ruined store. Armed guards are about to enter, so you quickly hide as the playthrough begins.
The player starts in an advantegous position with covers helping them to avoid getting spotted.I wanted to discourage direct combat (but also to not make the very first encounter overly difficult), so the player has to only face two enemies that spend plenty of time isolated from each other. They're close enough to help each other in combat, but placed in a way that allows you to sneak past them easily or to eliminate them separately.The covers will also hide their bodies, so if you're strategic about it, you can ensure they will never notice the corpses of their colleagues.
There are two possible ways to leave the building: you can either just take the main entrance, or the back exit. I made sure that both would be easily visible:- The main entrance can be seen right away, as it's where the enemy guards come from. You can also see grass contrasting with the walls, so the player will always know they can leave that way
- The back exit is lit up with a light generator! I placed it behind a cracked wall to also tease the incoming area. I also made sure that both of the enemies will naturally head in that direction, so the player is bound to notice that exit by simply observing them.


2. Back Exit (ruined store):
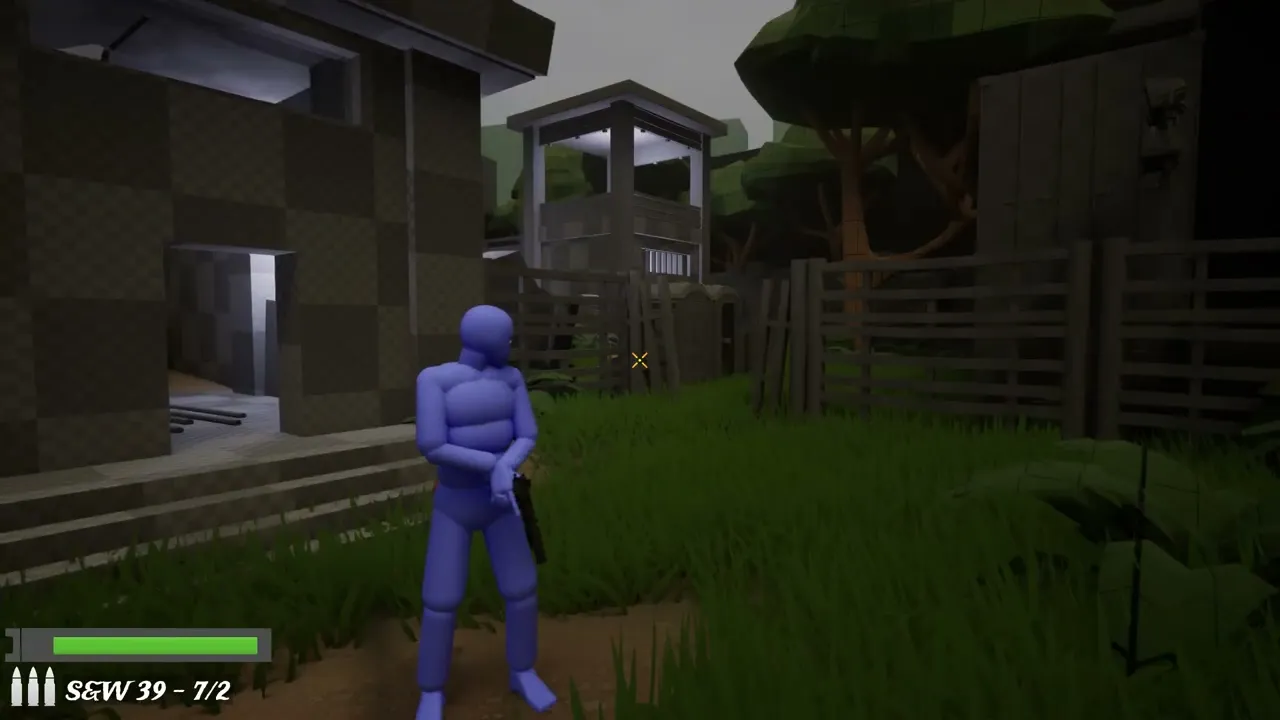
Assuming the player decides to take the back exit, they will enter a safe area behind the building. The player can pass through the broken fences to head either east or west.
3. Guard Post Area (West Path):
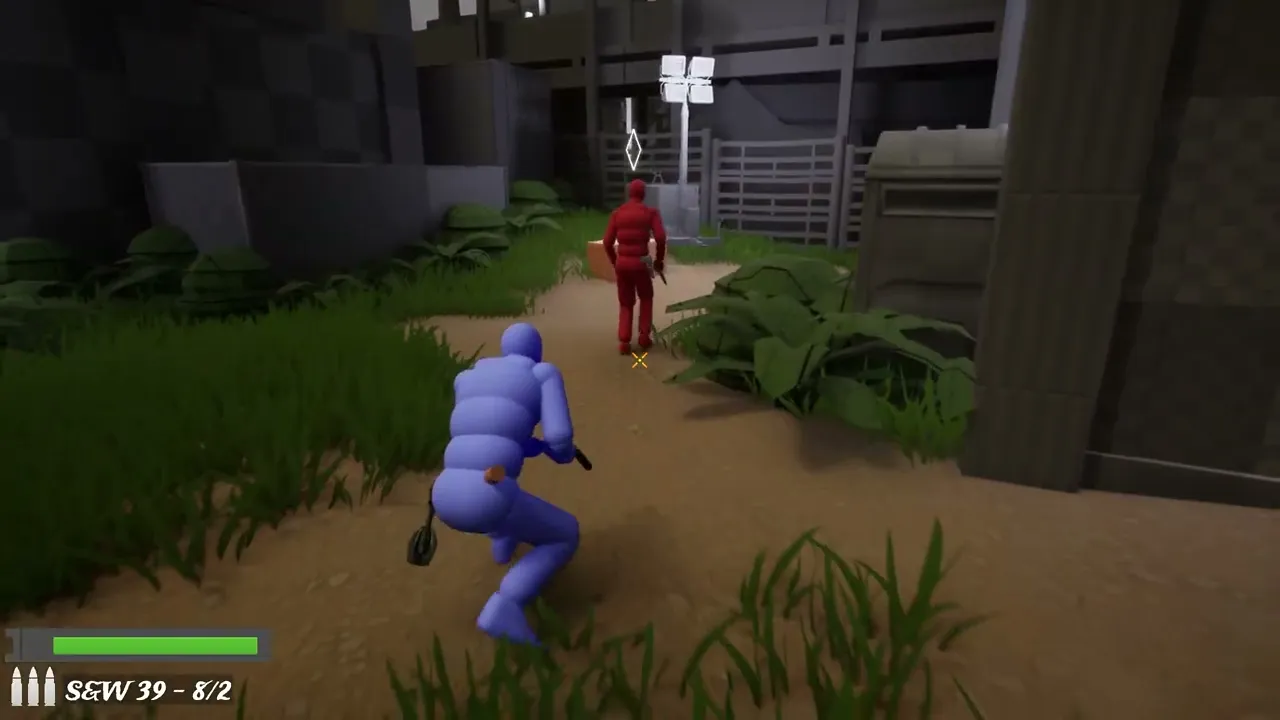
I wanted to guide most of the players towards the east path first, so I placed it right next to the back exit of the previous building. There's also a landmark in the form of a guard post tower.The player enters the area from a safe position, where they can easily plan their movement. I wanted to make sure the player knows they can enter the guard posts: you can see it's well-lit, and the ladder inside can be seen right away from the initial hiding spot.There's only one enemy that can be taken down easily; one of his default stop locations sets you up for a really easy headshot.
4. Base Walls (west path):
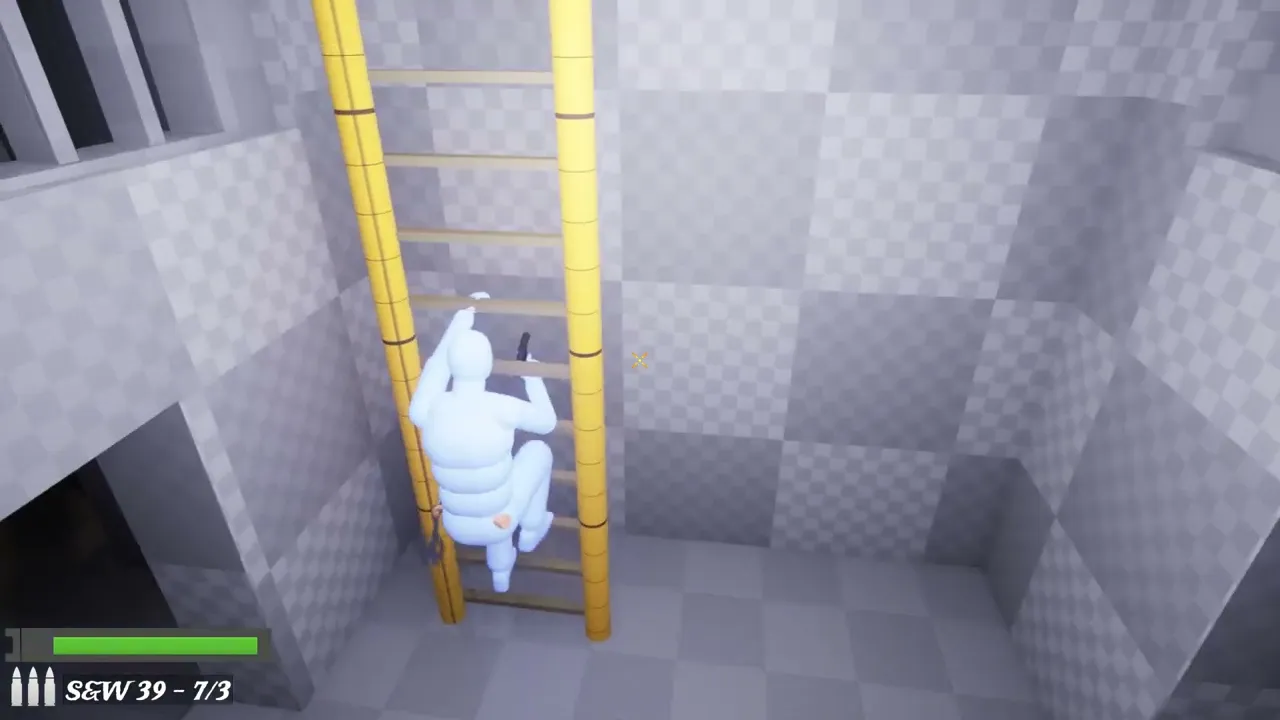
The player can enter either of the post towers. The exit in one of them is blocked with a truck; this ensures the player doesn't accidentally enter an area infested with enemies, but it also teases a little "fun" environmental storytelling moment when you climb the ladder. If you decide to look at the trucks, you will see looted dead bodies inside of them - all of them belonged to people killed by the mercenaries! Let's hope you won't join them!Climbing the ladder will also show you a wide view of the enemy base; from here you can see the main destination of the level: a tall building lit with a bunch of spotlights, ensuring the player pays attention to it. This is the building you have to infiltrate to complete the level.
I wanted to push the player towards the guard post as it gives you the best possible view of the enemy base. However, since this is an open level with branching paths, and the player needs to be introduced to the goal of the level, I made sure that the building would be visible from every possible location.


You can't just drop into the area and shoot everyone. The camp itself doesn't really have any real covers to hide behind, and the player is heavily outnumbered. At that point you most likely don't even have enough ammo anyways (unless you manage to headshot literally every single enemy). Every enemy is also in direct view of each other; after you kill just one, the rest will immediately notice, and start shooting at you - making precise shoots way harder...Your best chance right now is to just keep exploring; there has to be a better way of tackling this fight!
5. CENTRAL FIELD
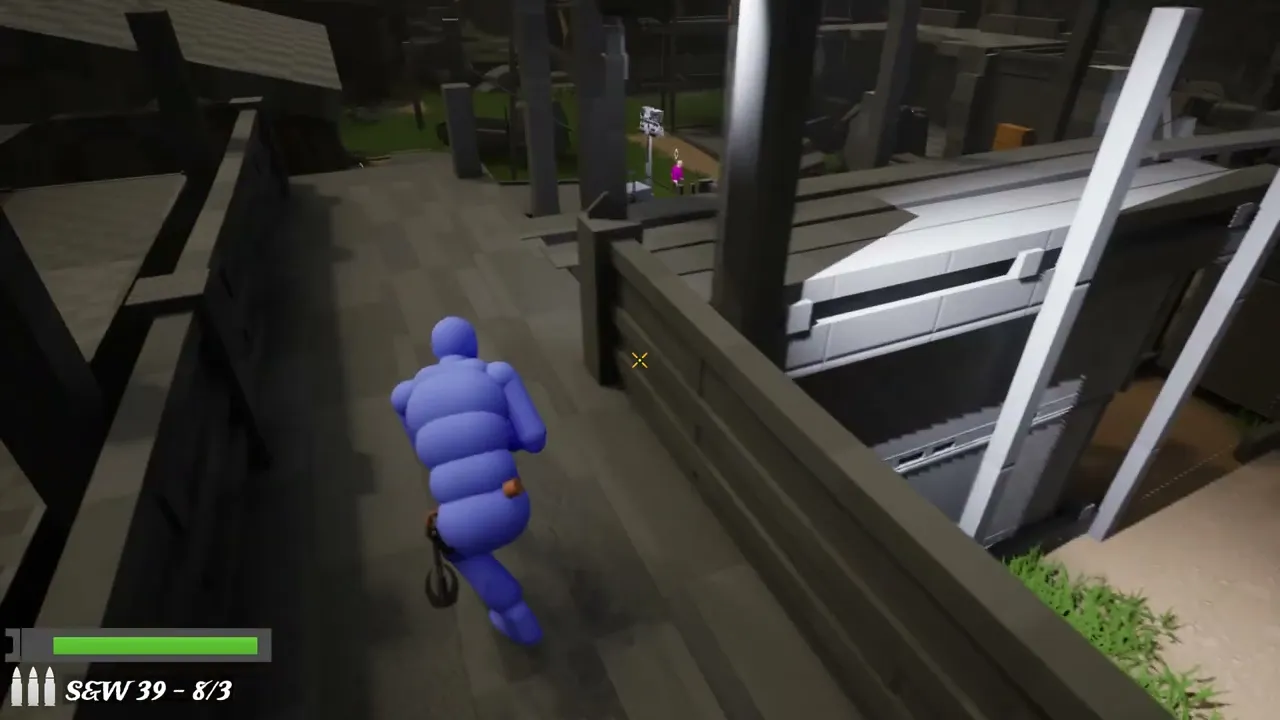
Keep walking across the walls and take a zipline to drop down. There's a chest with some ammo, and you can hide behind the light generator and get a clean headshot on the guard from the first building (if you haven't killed him yet). This leads us into the central field.
6. RUINED BUILDING (Central Field)
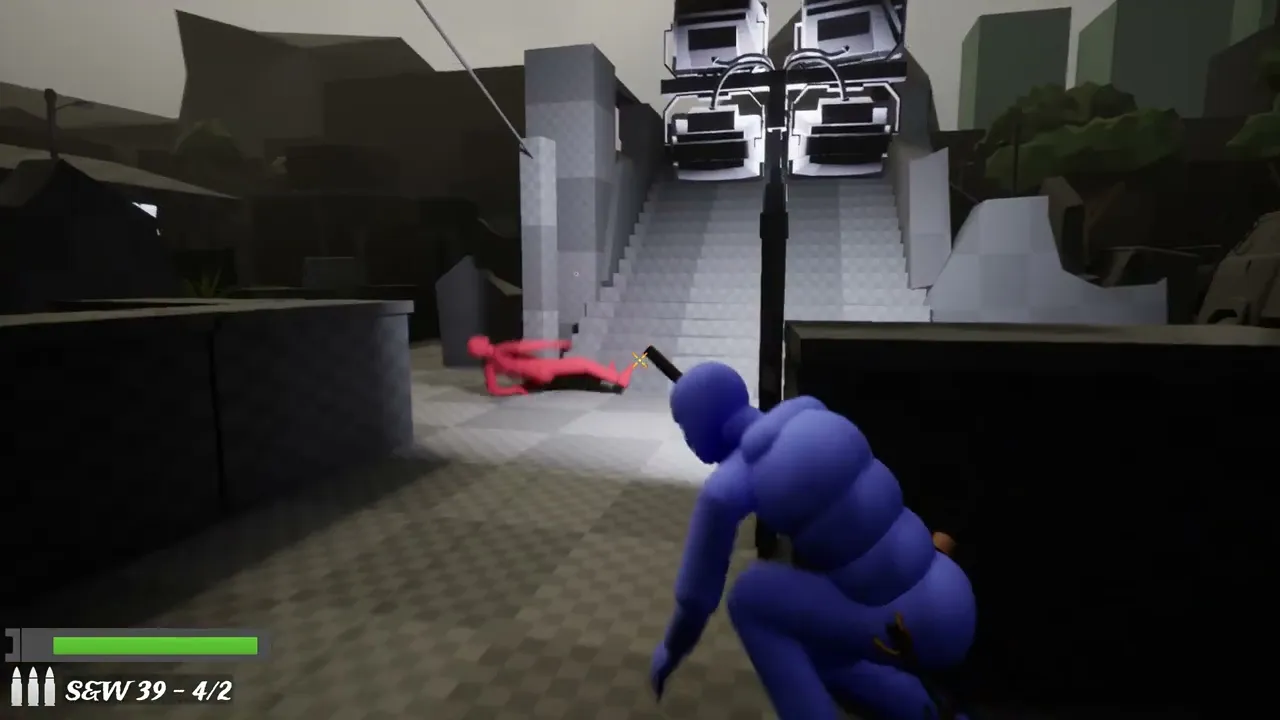
The central field has another explorable area: another ruined building (though this one is in a way worse shape).If the player decides to explore the upper layer, they will be rewarded with some additional loot. I also made sure that the chest would be visible from various angles. The zipline shortcut next to the chest will lead you directly to the garage area, located on the eastern side of the ruined store from the start of the level. That way I make sure to remind the players to explore this area if they decided to pick the western path at the start of the level.
7. Garage Area (East Path):
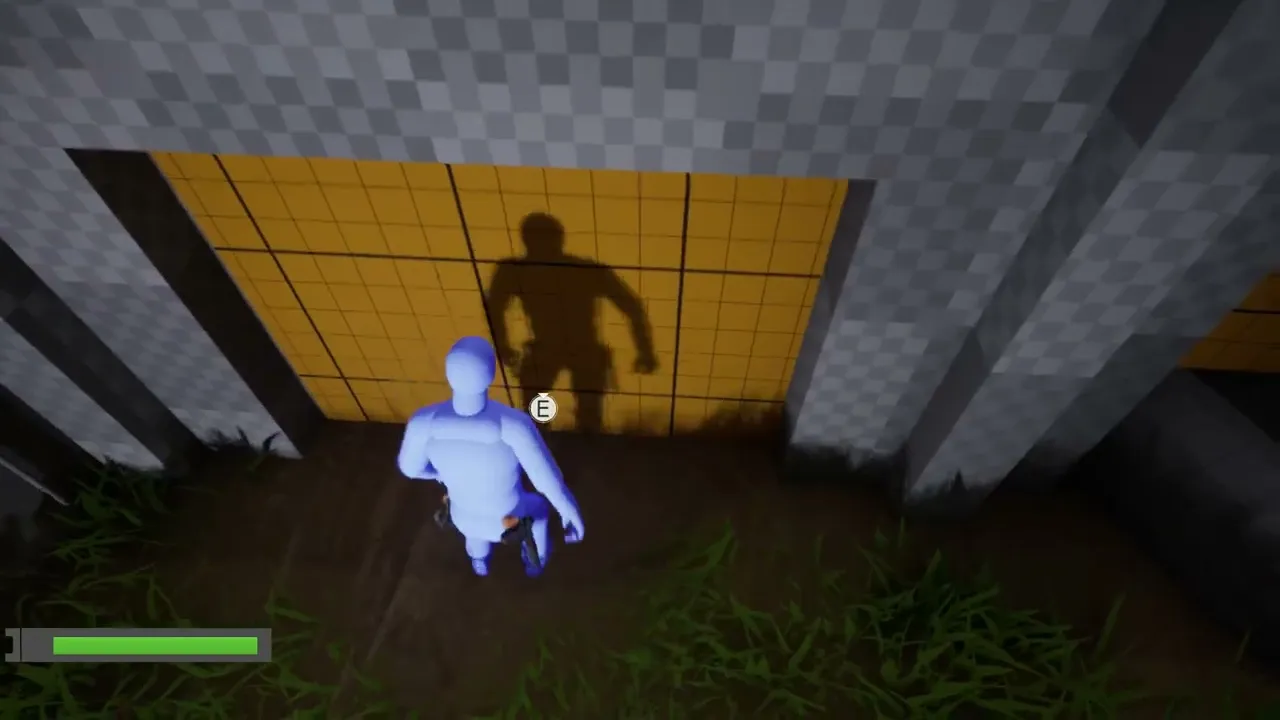
Before entering the area, the player can see a little vista view of a clogged road; there's no path through, but it lets the player know that there's more to the city itself (and it only makes logical sense that this entire area needs to be connected to a road.)The garages consist of a simple stealth scenario; you just have to take out two enemies. One of them patrols the area, while the other one is busy looting a car (obstructing his view). I had to make sure that this encounter was approachable from both sides (as you can enter this area from both sides).The player can also enter the garages by lifting the gates; One of the light generators is pointing towards the garage gate, and I've left one of the gates semi-open to let the player know there's something waiting behind the game. You can collect some loot inside, rewarding your time spent exploring.Inside one of them you can also find a dead body of a person trying to hide from the mercenary group.
8. Warehouse
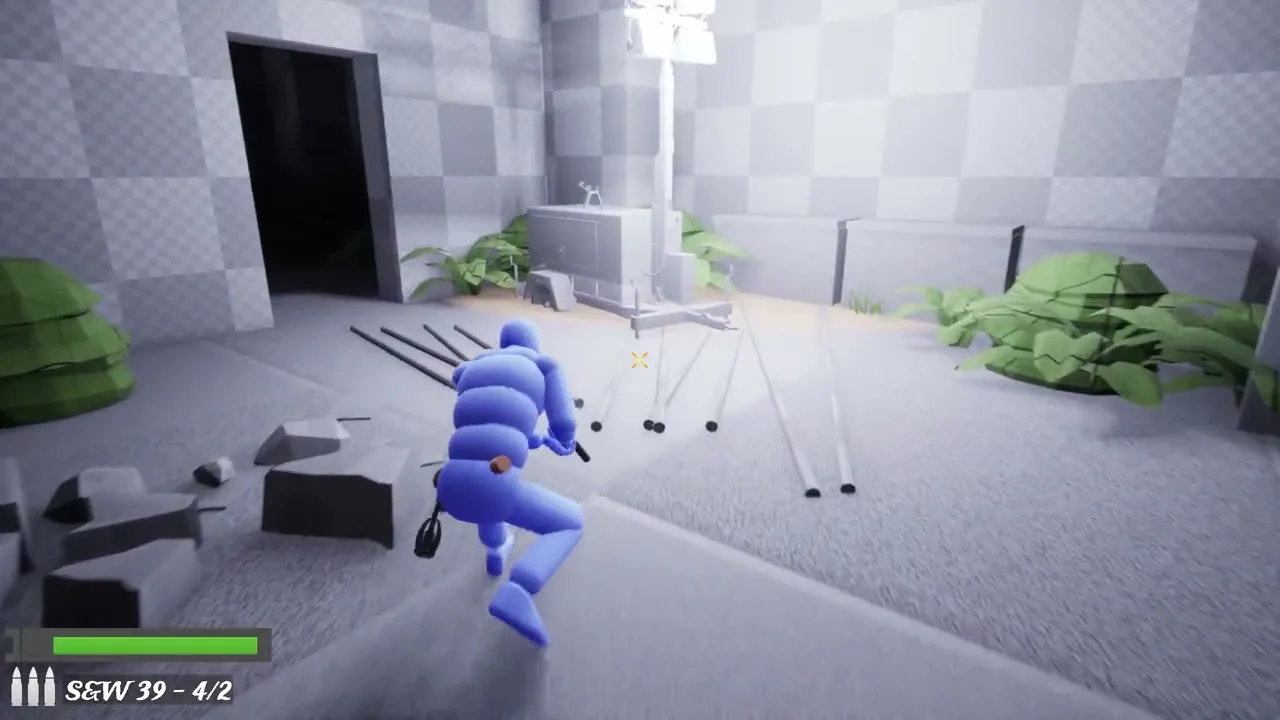
I made sure that the warehouse could be seen in the distance from most spots on the map. I also placed some lights inside to drive attention towards it.


If the player enters from the left entrance, they will immediately see an enemy patroling the inner room. Simply get rid of him to claim the sniper rifle. With this weapon, forcing your way into the camp will be trivial.
9. breaching the camp:
Now that the player has explored every area, it's time to breach the camp. There's multiple ways of approaching this!
10. breaching - using the sniper rifle
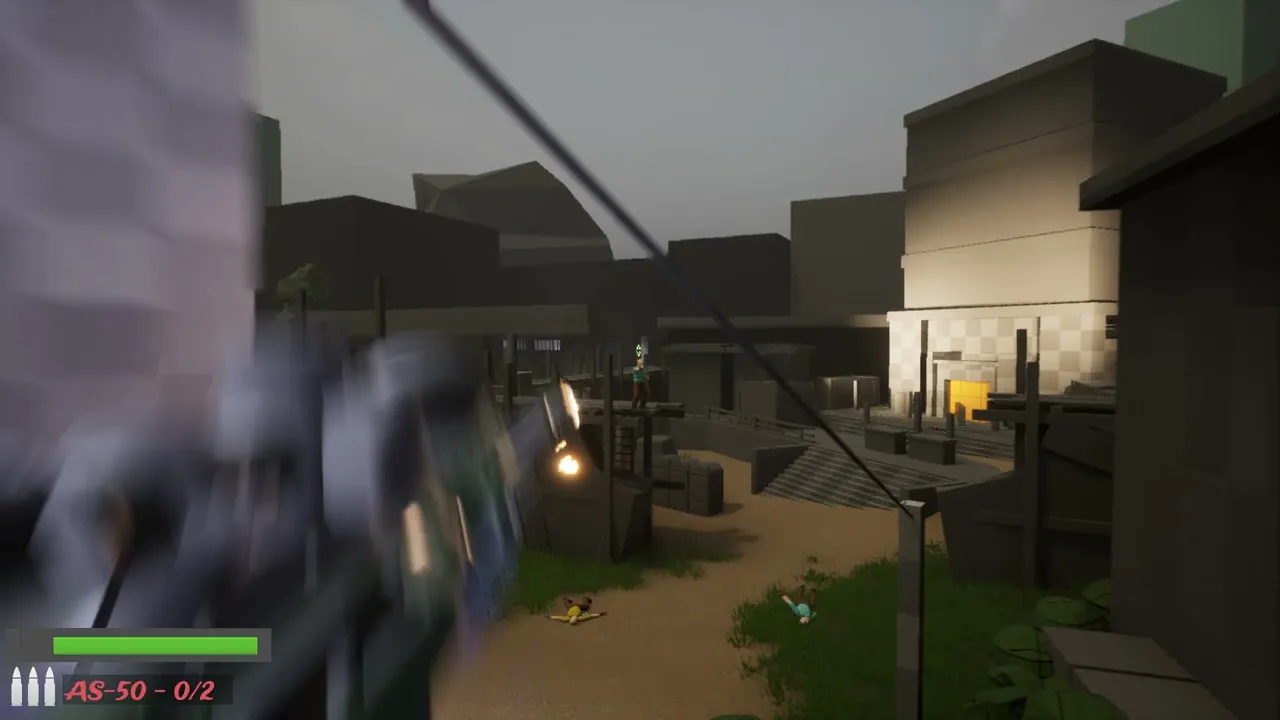
Starting with the easiest way; once you find the rifle in the warehouse, you no longer need to sneak past any enemy; your shoots will instantly kill every enemy almost every single time. You can use the guard post to cover, or just shoot them from far distance through the main gate before they will have a chance to react.
11. breaching - sneaking past guards
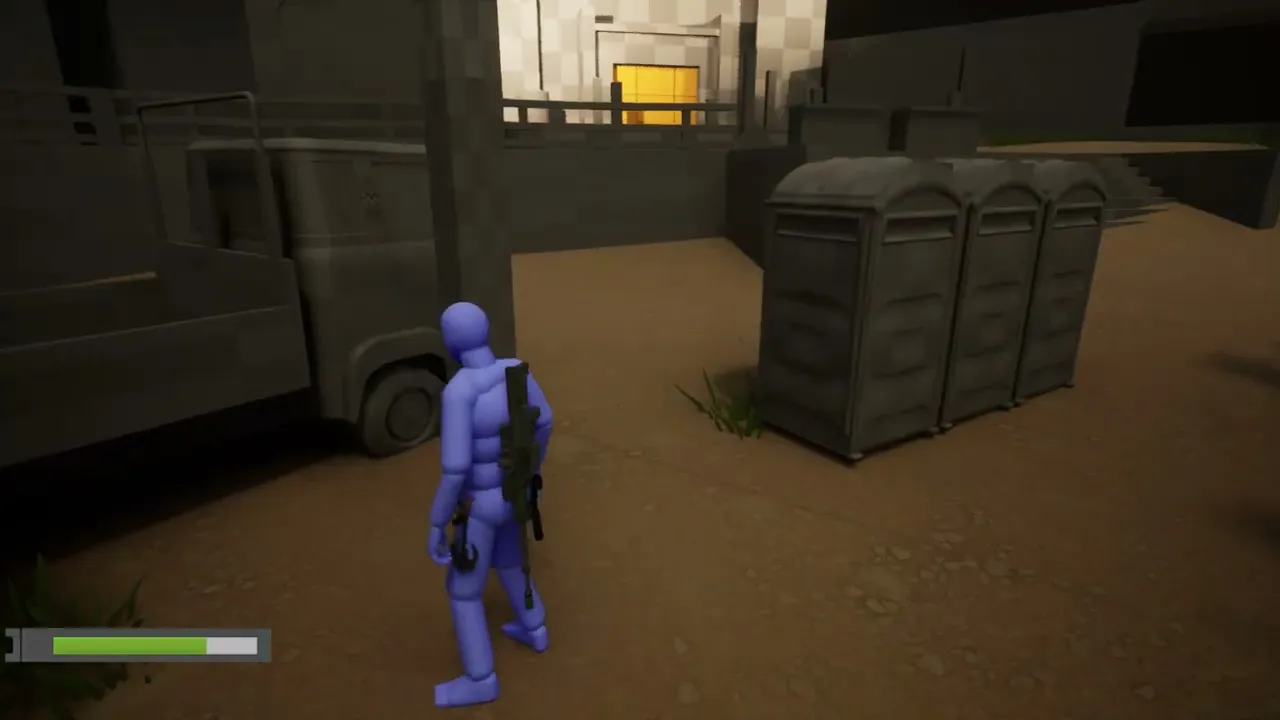
A slightly harder way that doesn't require using a rifle: take out one of the guards, and sneak above the walls.This requires scoring a proper headshot and leaves you exposed when crossing the catwalk; you need to be careful to pull this off properly.
12. breaching - WEAPONLESS entry
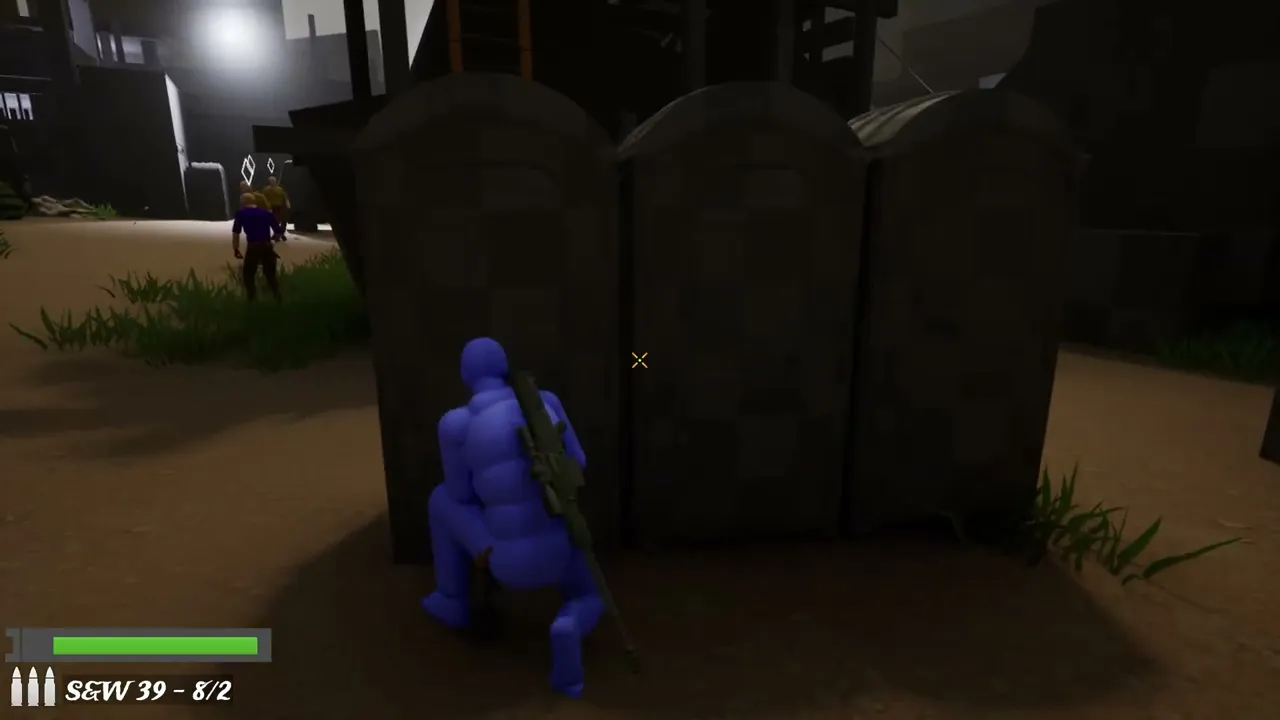
Another way that doesn't require any weapons at all; the player can find a hole in the walls near the warehouse. You can crouch through the hole, breaching the camp unnoticed.
the end
Once you open the gate, you win!
You've successfully breached the camp and completed the main goal.Thank you for reading up until this point, and feel free to head back to the home page and check out more stuff.
Workshop Simulator VR
About:
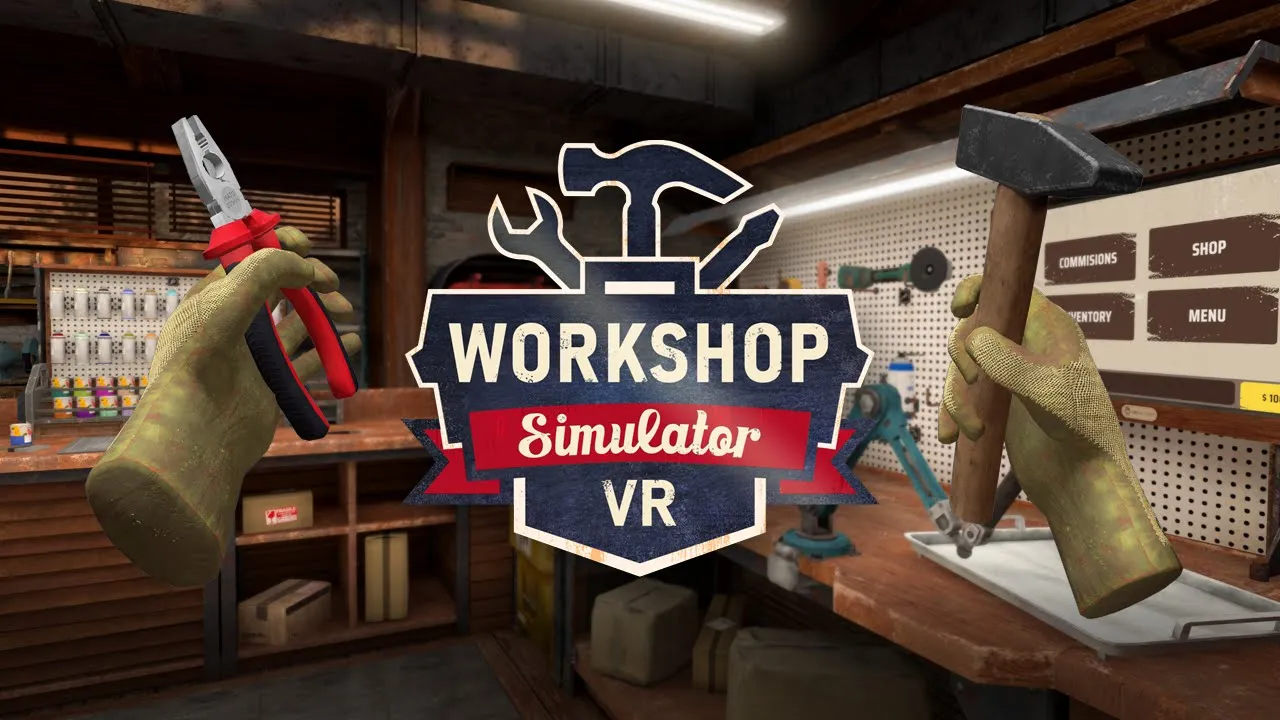
Workshop Simulator VR is a simulation game where you take on the role of a workshop owner, equipped with a range of specialized tools.
Release Date: 21.11.2024
Platforms: Meta Quest, Steam VR, PSVR
Engine: Unity
Project Type: Commercial
Store Page Links:
My work:
I have joined the team around August 2023, and my main responsibilities included designing the playable scenarios (the in-game missions where the player has to renovate an item) and scripting them so that they would work properly in-game (using the tools provided by our programming team.)This was my first commercial project (and my literal first time working with Unity), and it helped me learn a lot about how game development works in general.The tasks I was given included:
- implementation of every in-game mission (setting up every step, like cleaning/painting/disassembly/etc., setting up the ways in which the player is able to grab every single part, balancing each mission in terms of economy, setting up completion thresholds for every mission, making sure proper textures and collider assets are in place, and so on...)
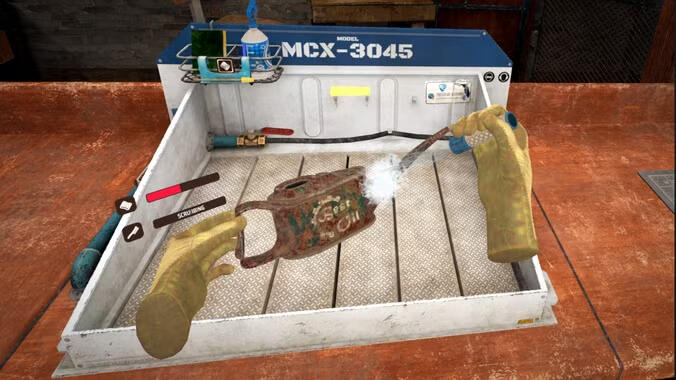
Additional various bug fixes and miscelainous tasks, such as:- implementation of various 3D assets created by our team (like updated Tool models; I had to also make sure they would display properly and fit the player's hands)
- implementation of 2D UI assets
- creating early mock-ups of the title screen
- TONS of random bug hotfixes
- a LOT of Q&A testing to make sure the content I was implementing would work properly (and additional testing of stuff created by my coworkers)
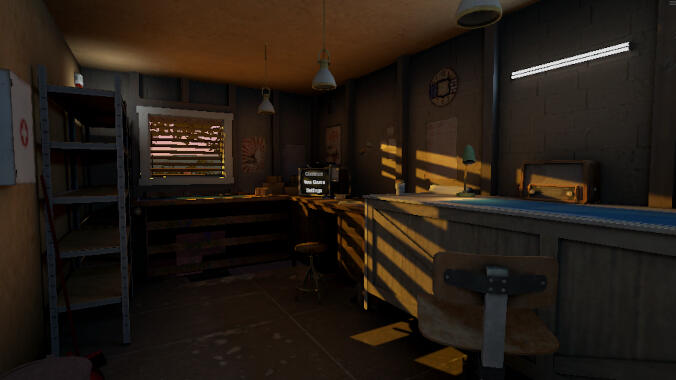
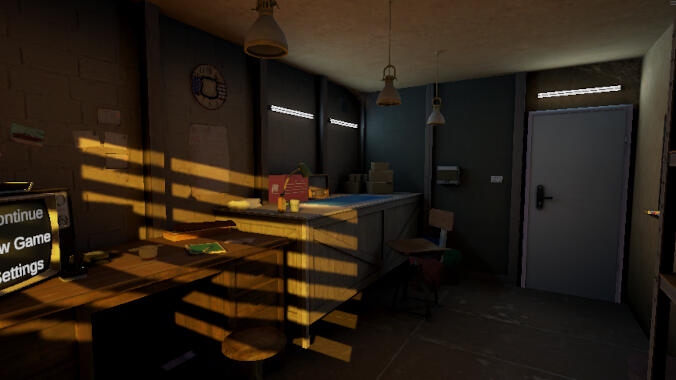
Some BTS mock-ups of various scenes:
Game Playthrough:
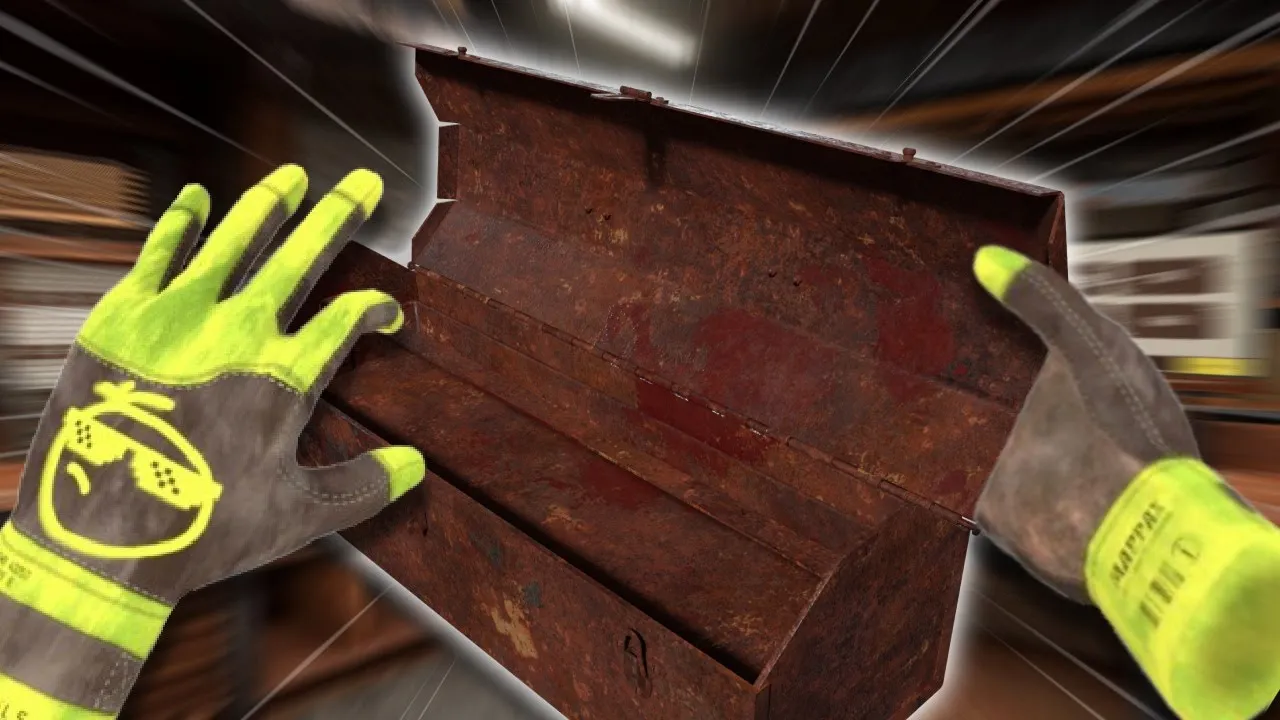
A longplay video recording of a player experiencing our game (all of the playable missions were implemented by me!)
Battlecrafter VR
About:
Workshop Simulator VR is a simulation game where you take on the role of a workshop owner, equipped with a range of specialized tools.
Release Date: 18.12.2025
Platforms: Meta Quest, PSVR
Engine: Unity
Project Type: Commercial
Store Page Links:
My work:
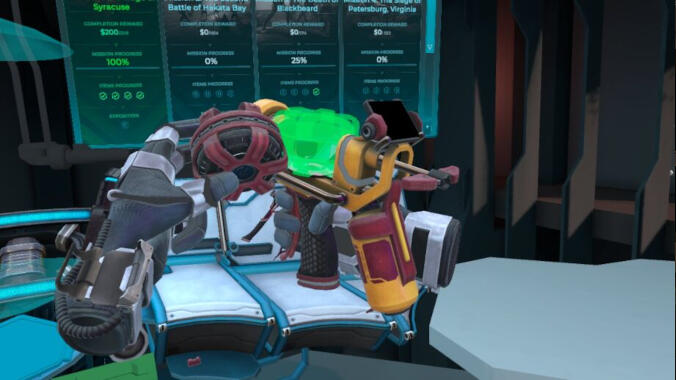
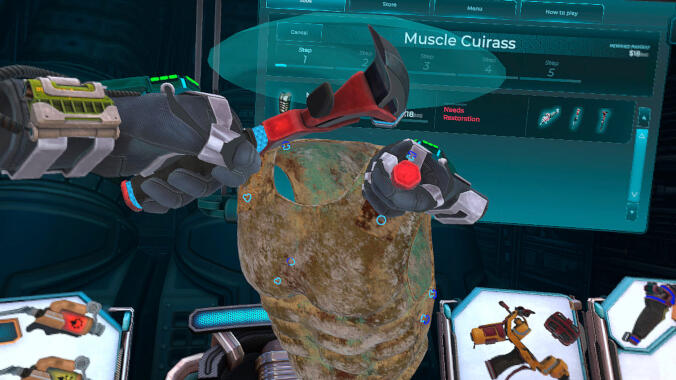
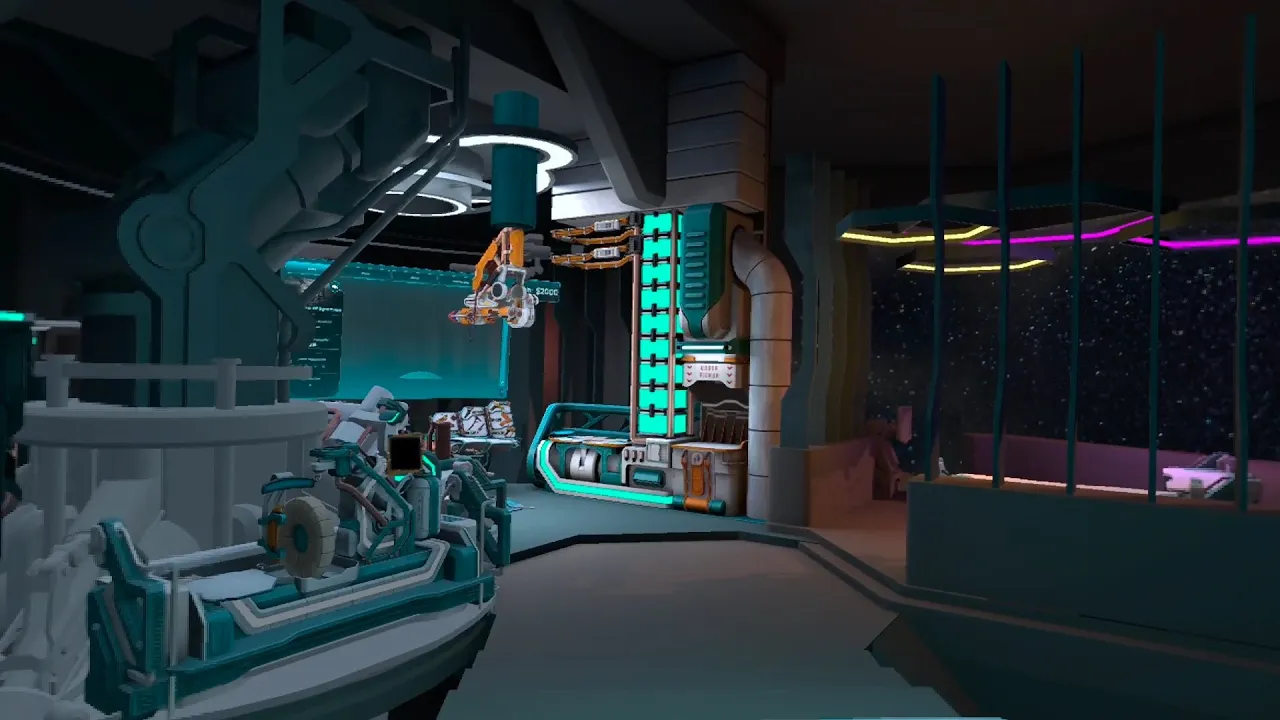
I was present for the entire development cycle of Battlecrafter VR. My main responsibilities included:
- implementing every playable scenario (the in-game missions where the player has to fix and renovate the item) and every exposition (a bonus feature where the player has to create their own museum expo out of the items they have renovated) based on the documentation provided by the game designer.
- additional Q&A testing
Game Playthrough:
A longplay video recording of a player experiencing our game (all of the playable missions were implemented by me!)
Note: this is a somewhat-older 2024 project that doesn't neccessarily mirror my current skills. I have decided to showcase it here anyways, as it's still a fully playable game build, but for a more accurate portrayal of what I can currently do, visit the following pages:

Stealth Shooter Level Demo
PROJECT CHTHONIC SIREN
Wine Quest
About:
Wine Quest was created as a part of a game jam organized by my university. The project was completed over the course of 3 days. The main themes of the game jam were pigeons and mythology, and I was responsible for the level design.I also created the 3D model of the main character.The main premise was:
Arthur, the protagonist, has been turned into a pigeon. He has to find wine ingredients to turn himself back into a human.The game itself is a 3D platformer set in an open world; the progression isn't linear, as you can tackle the level in any order you want.
Release Date: 30.06.2024
Engine: Unreal Engine 5
Project Type: Gamejam
Download link:
1. The opening
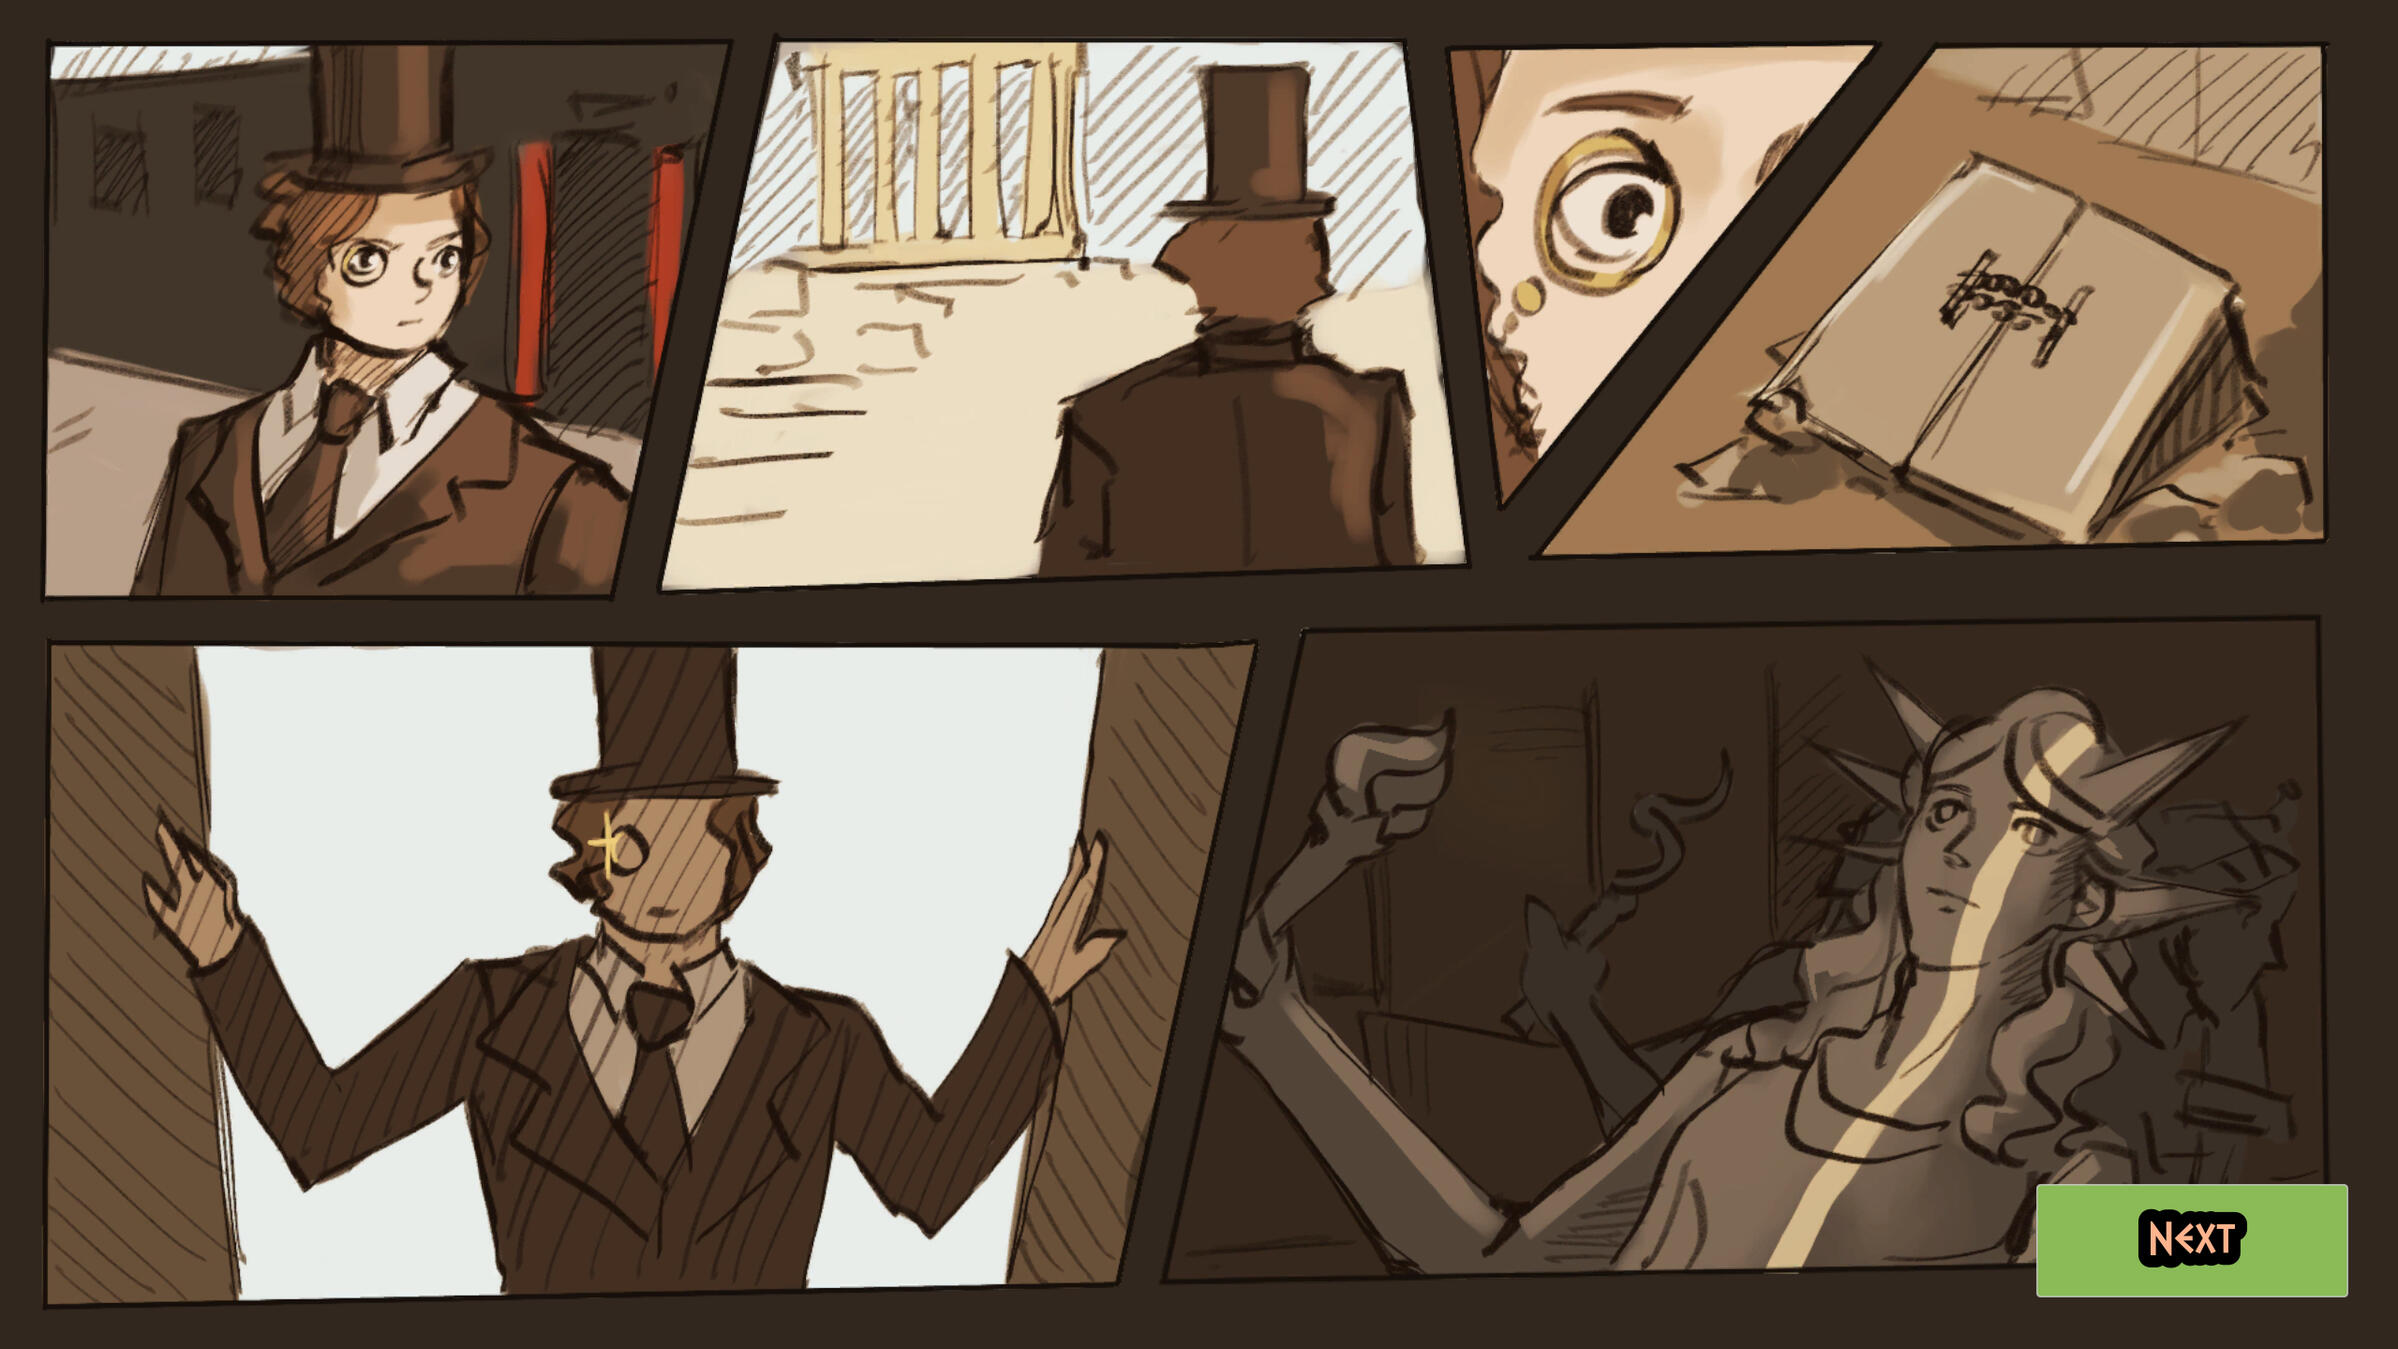
The game actually opens with a short story montage that describes the backstory of our protagonist Arthur. Since it doesn't really have anything to do with the level design itself (and since I didn't create the art either), I'm just gonna summarize it:
Arthur was turned into a pigeon, and he has to create some wine to turn back into a human.
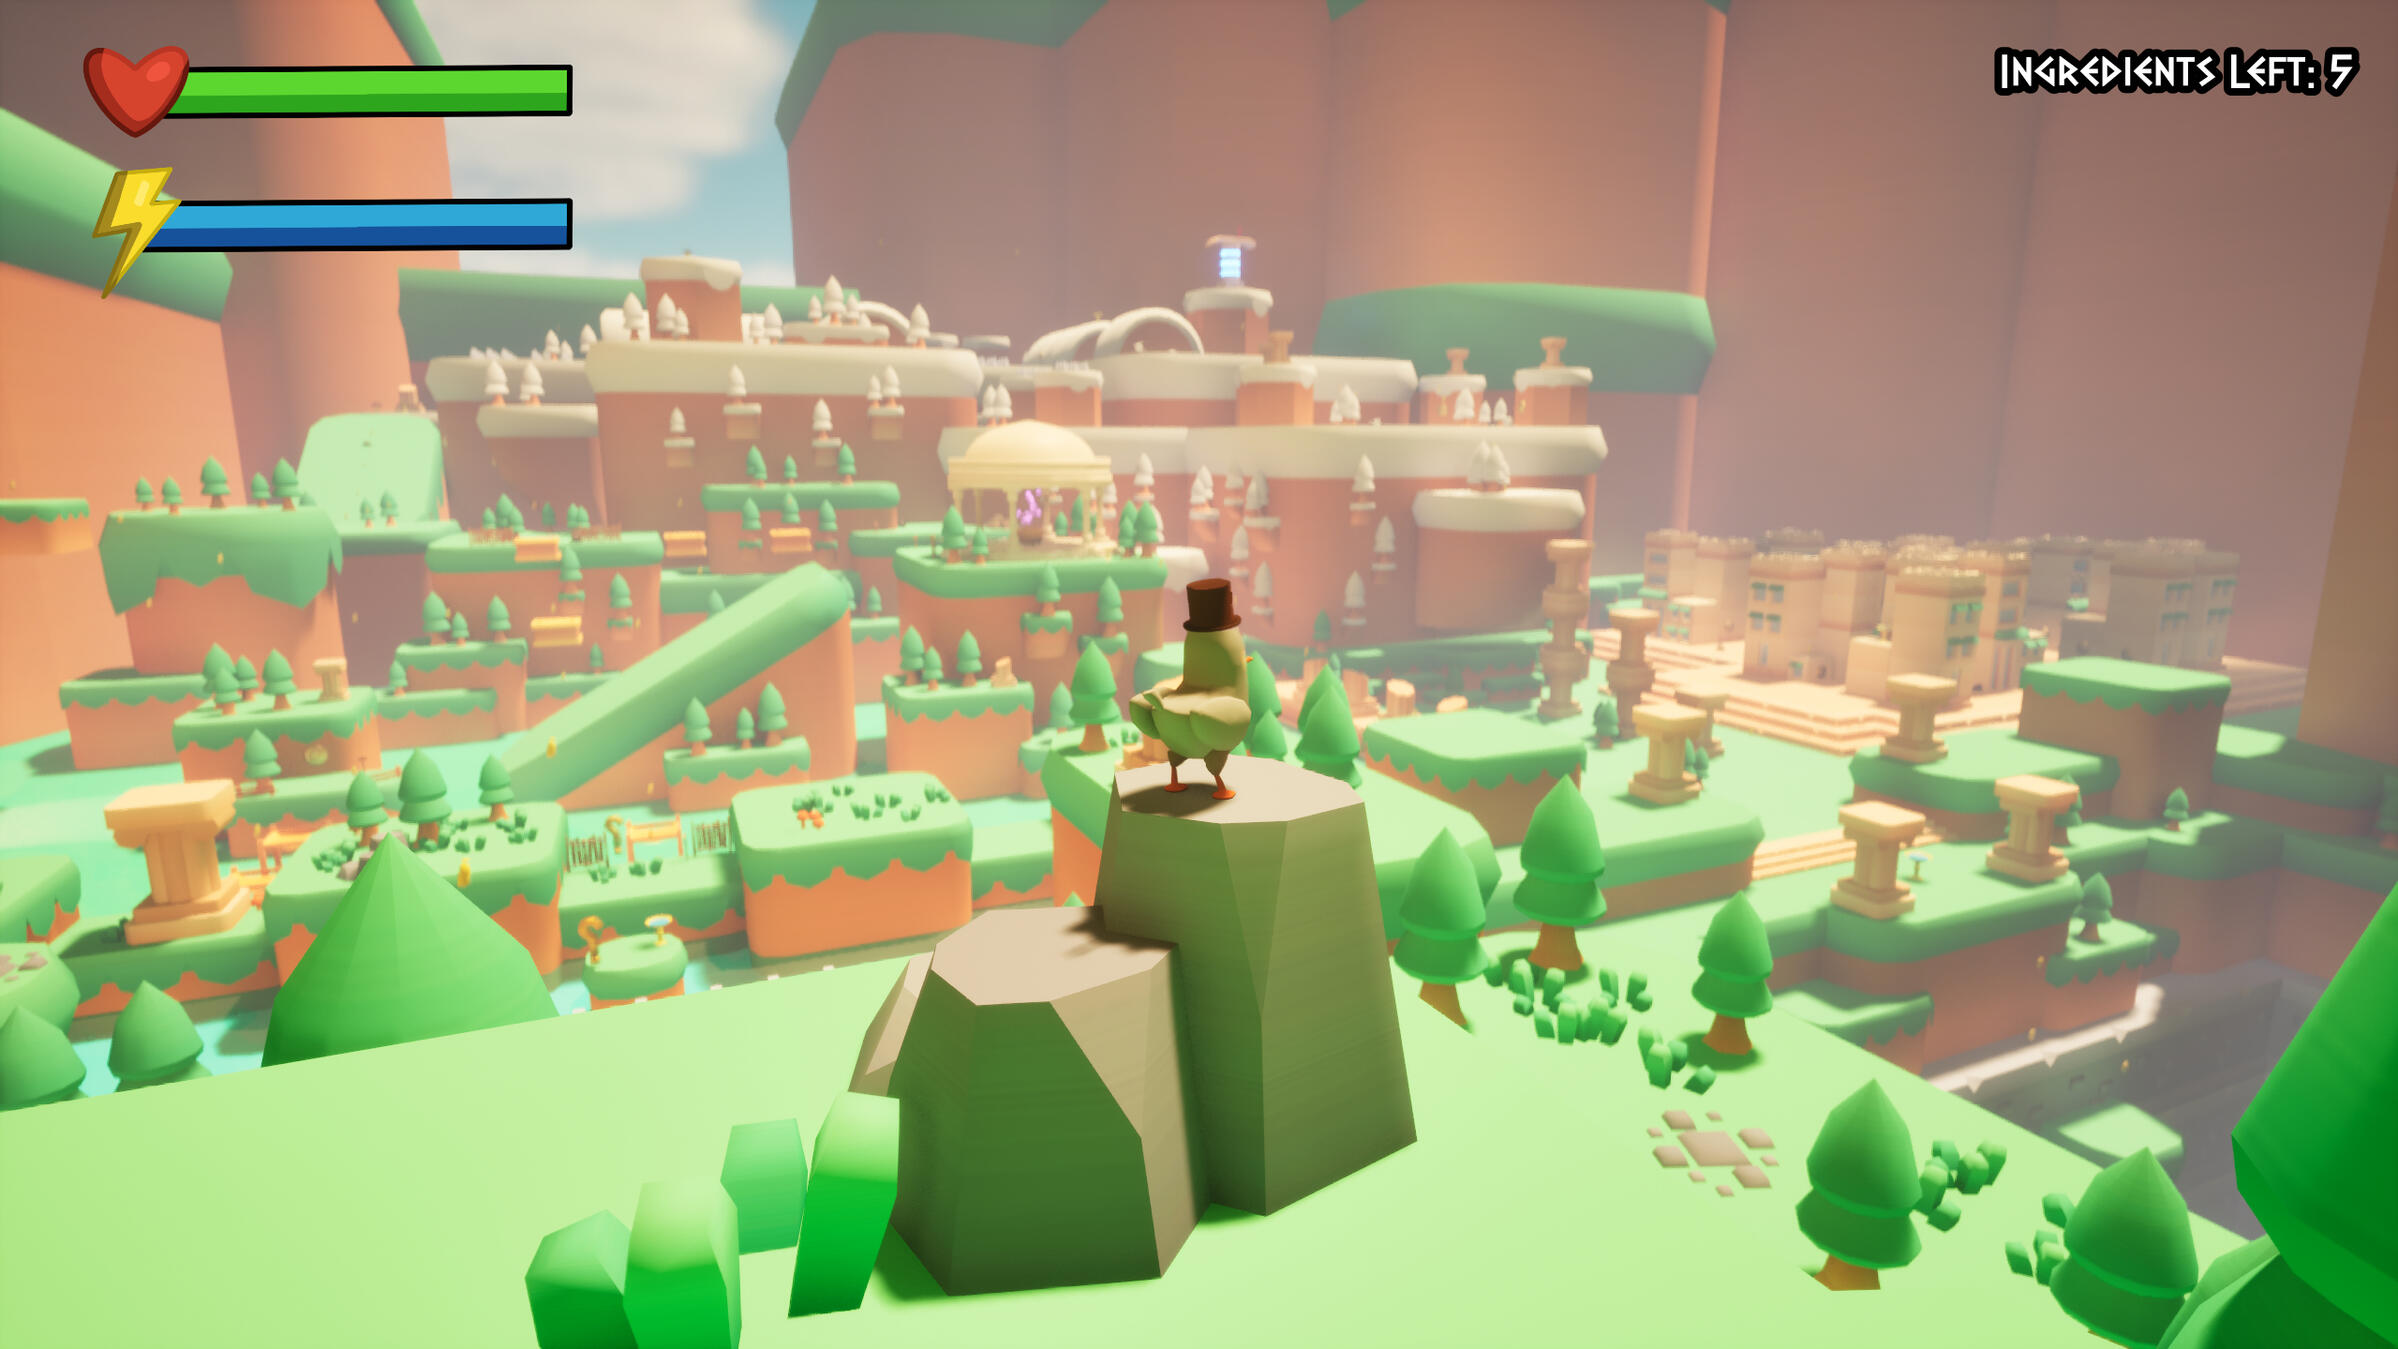
Since the main goal of the level is essentially just to find hidden items, I had to show the player some interesting landmarks straight away.The second the level begins, you are hit with a massive view of the entire world; the player can see a dome-like building (with some purple smoke, contrasting with everything else), a glowing pillar structure, and even a city. All of those are points of interests that will eventually be explored.The level also has two biomes (a grassy one and a snowy one), so the player can always have a rough idea of where they are.
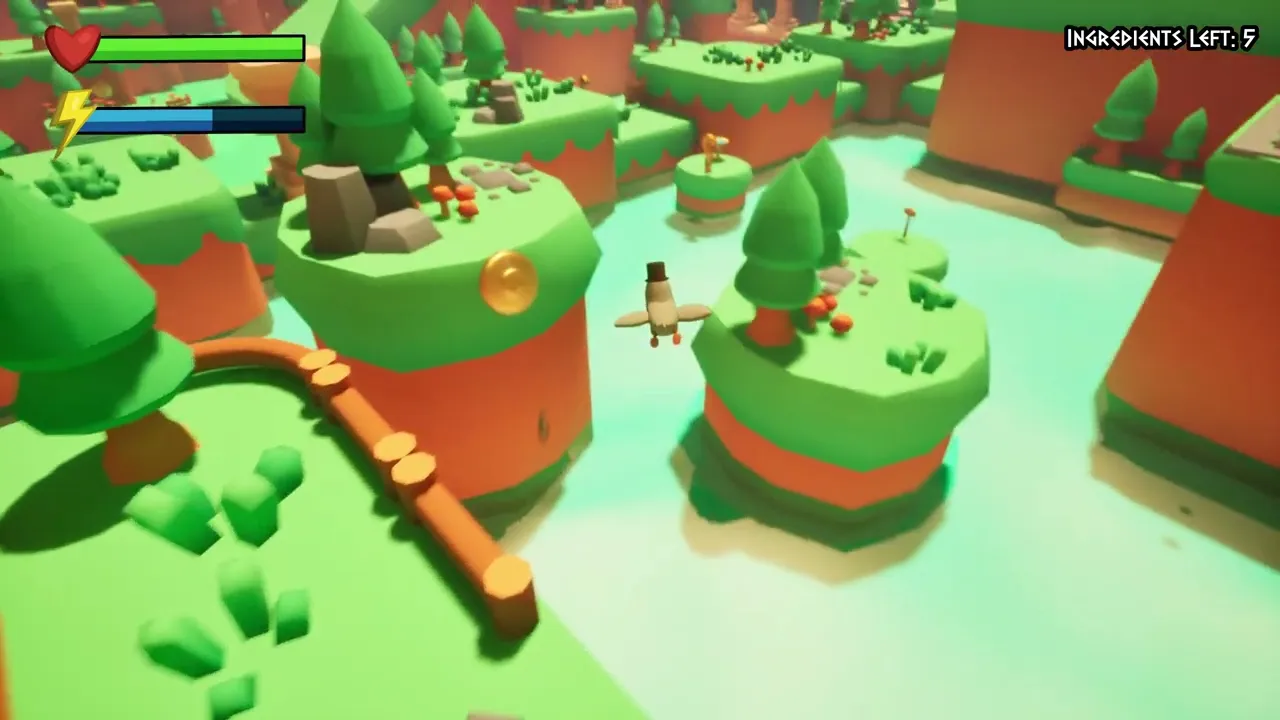
Our main gameplay gimmick involves gliding: rather than jumping, Arthur is supposed to fly across the level. The space button lets you fly upwards, which consumes stamina. Once you run out of stamina, you won't be able to go any higher until you land (or grab a banana that refills all of it!)Some of the gameplay elements include:
- Checkpoints in the form of a fountain that saves your progress and heals you
- Golden bananas that instantly restore your stamina, allowing you to fly further
- Various traps, such as spikes, or flying arrows.
- Water that kills you! Can pigeons swim? I don't know, but I guess Arthur can't.


Additionally, the player can touch those cartoony-rotating-golden question marks to read some quick tutorials in case they feel lost.


The first challenge is rather simple, and serves mostly as a movement tutorial where we also introduce most gameplay mechanics. You simply have to glide down the path and cross the lake. The player can either follow the easy path by following the guide posts, or skip it by jumping straight off the starting cliff and take the harder path.The gameplay mechanics such as golden bananas or traps are introduced in a relatively safe and easy setting, so that the player won't get frustrated trying to get used to the controls.
2. The cauldron dome / 1st ingredient
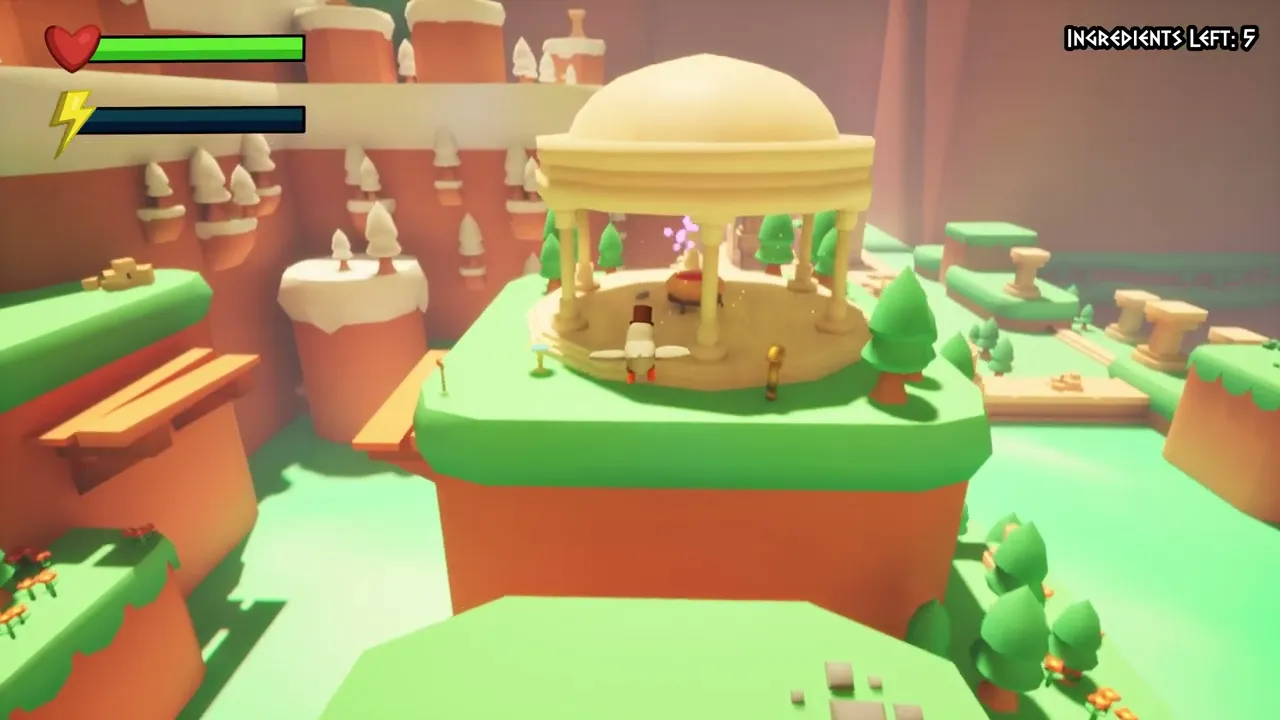
The first area you will reach after exiting the tutorial zone; this is where you will drop the ingredients. I've placed the first ingredient - some water - right next to the cauldron. That way the player will know what to do with the rest of the ingredients and where to take them.At this point the level pretty much opens up completely; you can glide down towards the city (I made a path of golden bananas to encourage the players to glide down) or cross the broken bridge and start climbing the snowy mountain.
3. The mountain area / 2nd ingredient:
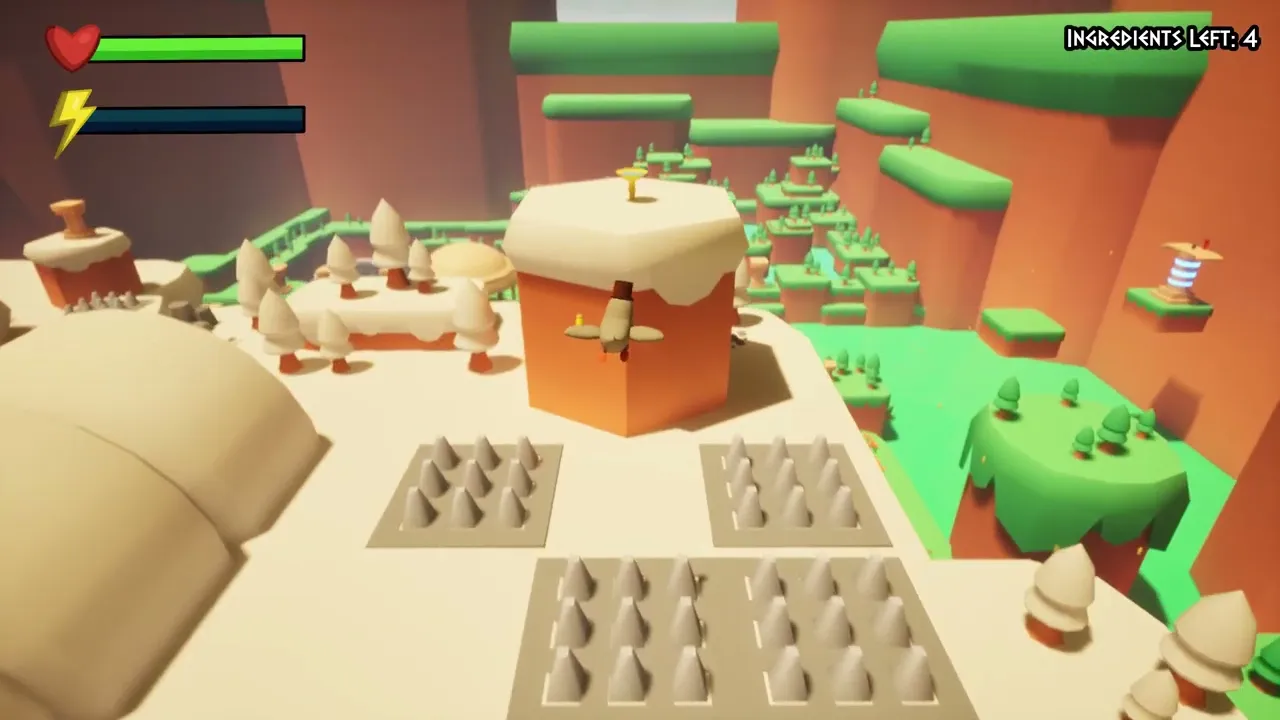
At the beginning of the level the player can see a glowing pillar on the mountain; the goal of this sublevel is to find it. The level opens with the player climbing and platforming while avoiding some traps.
After they reach the top layer, most of the walking floor will now be covered with spikes, forcing you to keep gliding.
Once you reach the pillar, you will be gifted your first wine ingredient, some grapes.It also gives you a nice view of the entire map, and you can see two additional glowing pillars if you decide to look around. This lets you know where to go next. Take the ingredient back to the main dome and make your way towards the next ingredient.


Since this pillar is so high up, you can very easily and safely glide down back to the dome building.
4. The floating island / 3rd ingredient
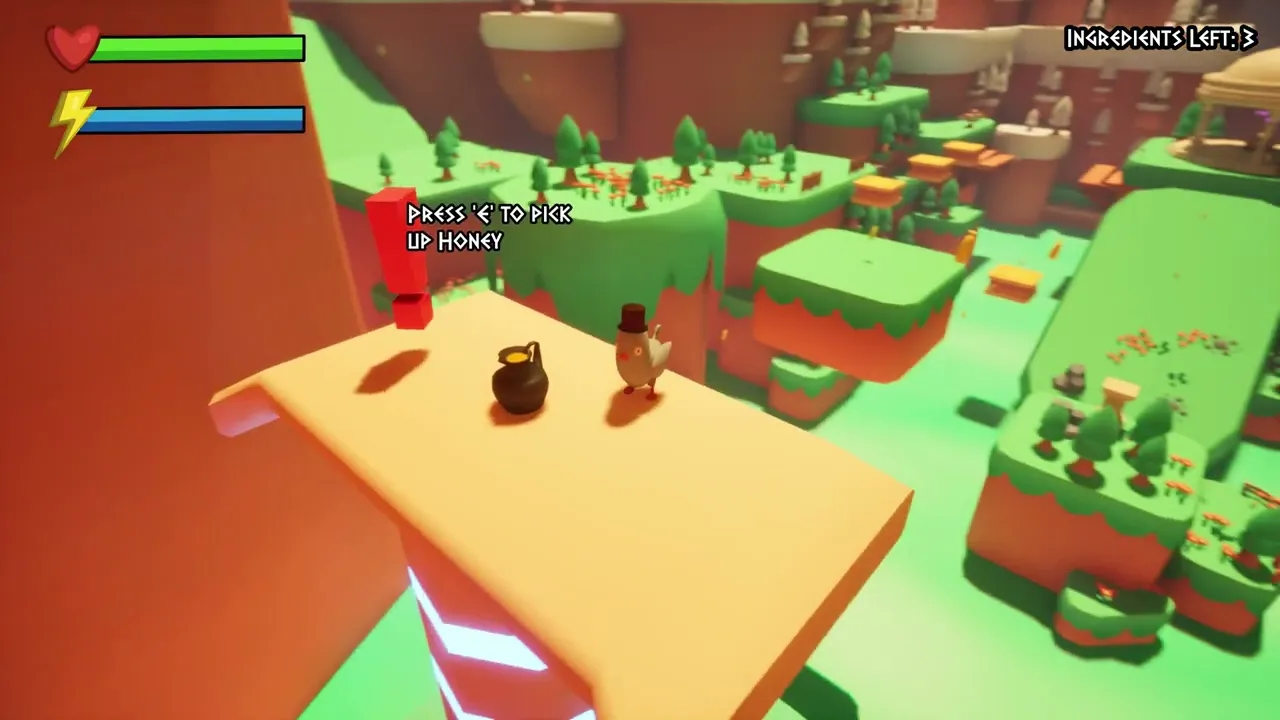
A pretty straight-forward challenge; now that we know there's a glowing pillar on the eastern side of the map, we can make our way there.This short challenge forces the player to keep gliding without landing for longer periods of time; you have to grab the bananas to avoid falling into the water. There's only one platform halfway through to give you some space to rest.After you reach the pillar, you will be able to pick up some honey, our third ingredient.
Additionally, since this level is meant to be non-linear, this pillar will also give you a nice view of the snow mountain pillar to remind the player to go there in case they haven't already.

One again, since this part of the level is way above the dome building, you can just glide down there very easily. There's some strategically placed bananas to make sure you can reach it without touching ground.
5. THE CITY AREA / 4TH INGREDIENT
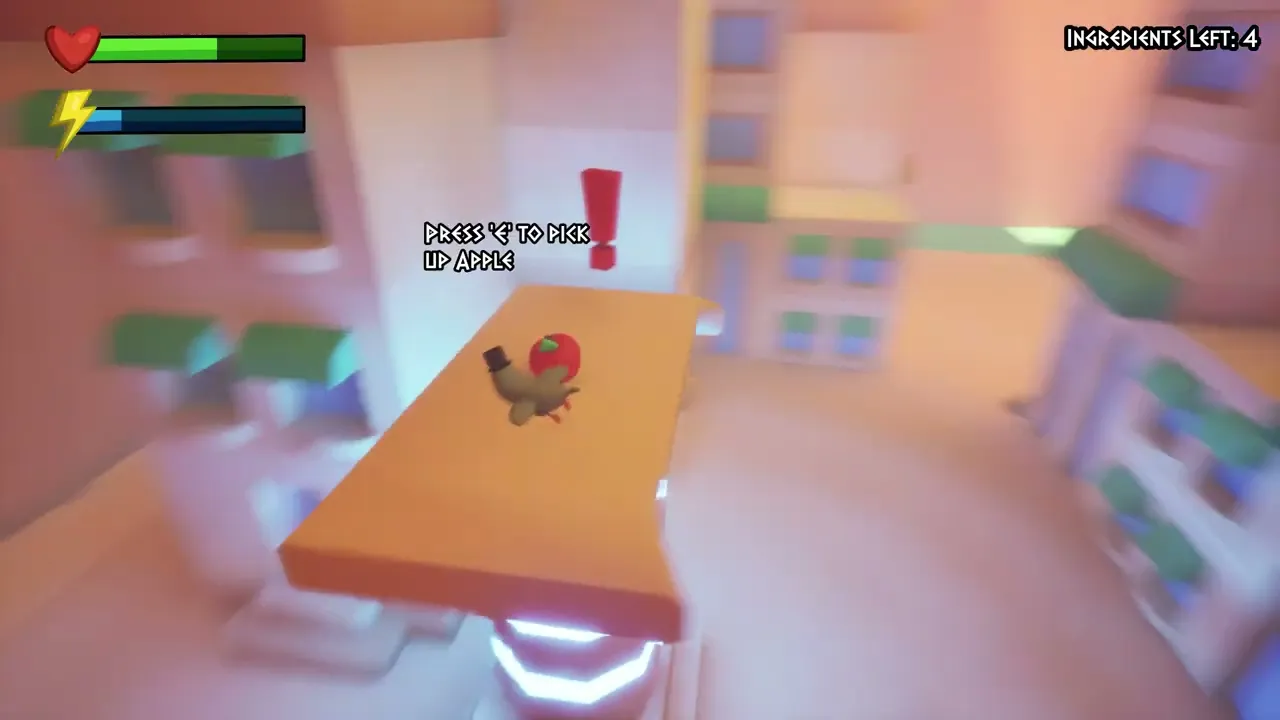
Glide down from the dome building to reach the city. This challenge mostly just involves sneaking past (or flying past) the slime enemies that chase you; reach the deeper streets of the city to find a pillar with an apple, our fourth ingredient.

One again, since this part of the level is way above the dome building, you can just glide down there very easily. There's some strategically placed bananas to make sure you can reach it without touching ground.
To leave this area you will have to climb past some regular pillars. I placed the bananas strategically to make sure it's possible to climb past those without ever touching ground.

6. THE DEPTHS / 5TH INGREDIENT
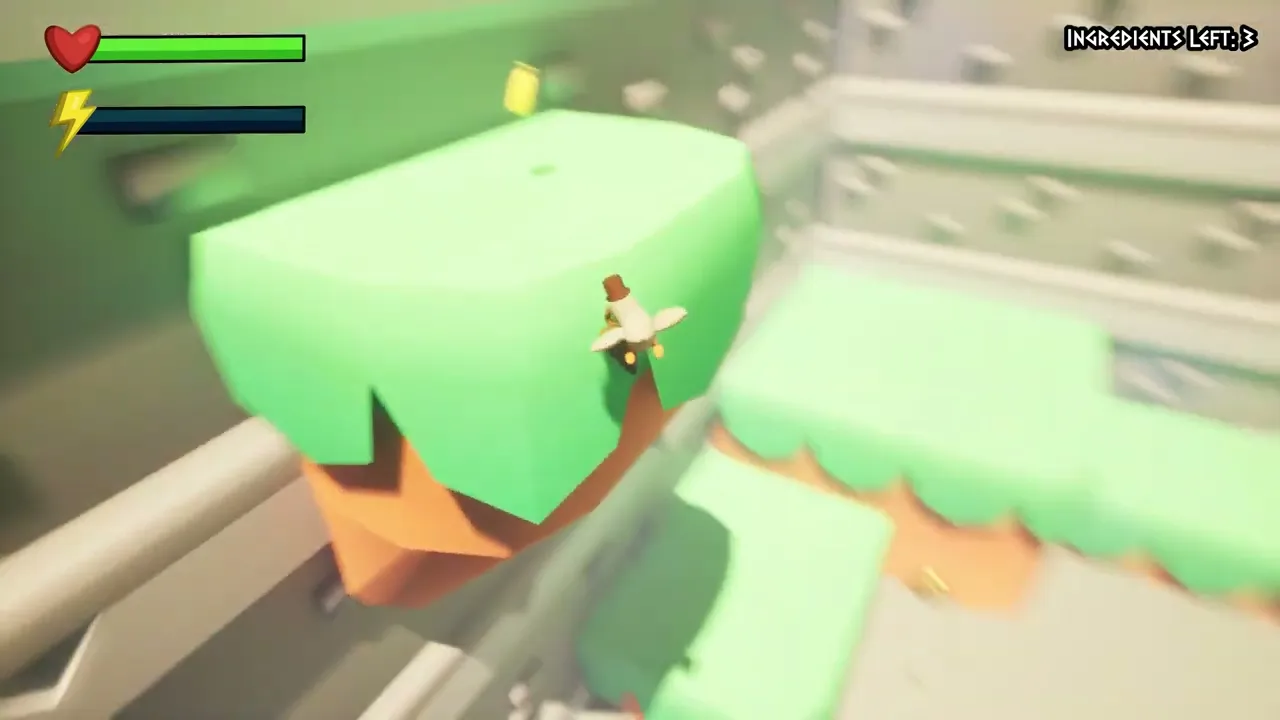
Our final area! The player will most likely end up noticing a giant hole on the northern side of the map.

They will also most likely pass it as they head into the city; it's placed in a spot where most players would land, because I used bananas to guide them that way. There's also a checkpoint there, which is bound to catch some attention.
The challenge of this part is getting OUT rather than getting IN. You can drop in and grab the final ingredient immediately (more grapes!), but getting out requires passing a platforming challenge.
The player has to look around and find the platforms and bananas to take so that they can escape.
7. THE END
After you deliver the final ingredient, you win!

Note: this is a somewhat-older 2023 project that doesn't neccessarily mirror my current skills. I have decided to showcase it here anyways, as it's still a fully playable game build, but for a more accurate portrayal of what I can currently do, visit the following pages:
Stealth Shooter Level Demo
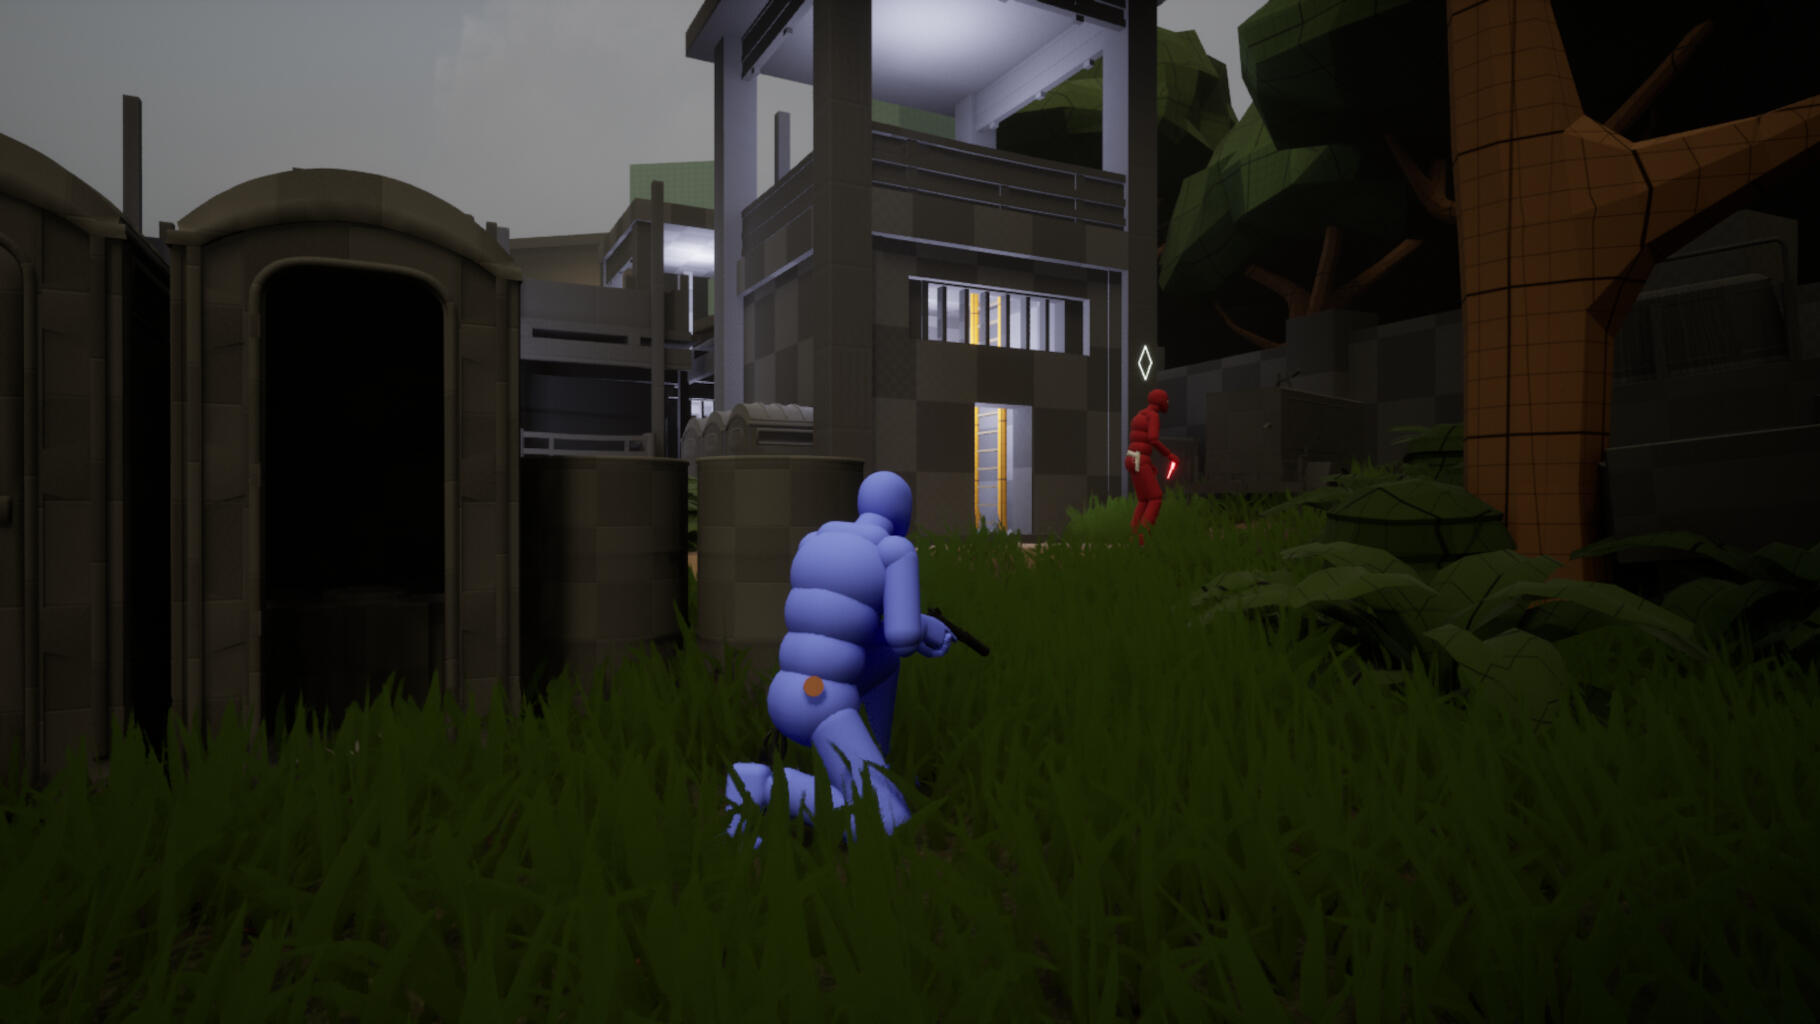
PROJECT CHTHONIC SIREN
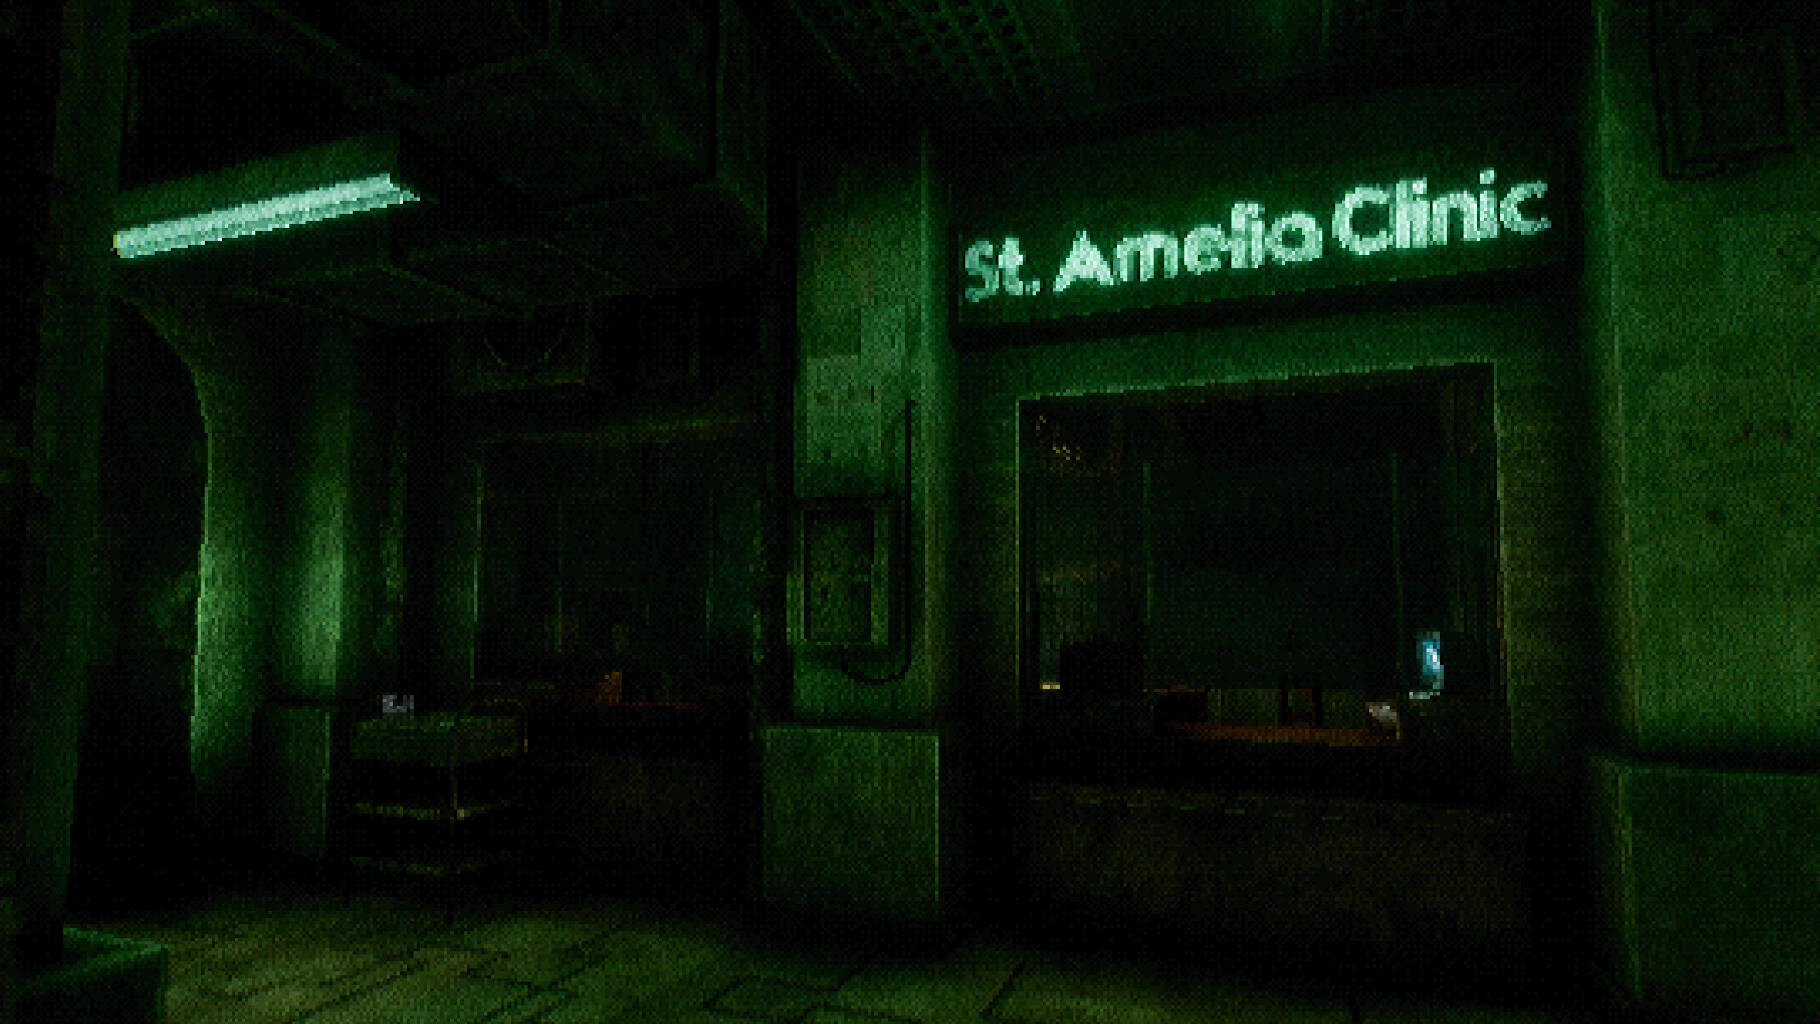
Something Inside The Well
About:
"After a mysterious well appears out of nowhere nearby your hideout, you decided to go down the hole and explore what lies beneath the ground. What you ended up finding surpassed all of your expectations."Something Inside The Well is a short, linear and atmospheric game with light puzzle & horror elements. The setting was hugely inspired by liminal spaces and the backrooms. Nostalgia towards early 2000s was a major theme of the game.This was my first ever finished project, and I created it over the course of a few months during my university days. I used the Horror Engine framework and a store-bought dialogue framework to handle the gameplay mechanics.I designed the levels, wrote the story and modelled most of the 3D assets by myself. I've had two people helping me out with the project; one handled the music, and the other one drew the 2D character portraits. The rest I've pretty much handled all by myself.
Release Date: 12.06.2023
Engine: Unreal Engine 4
Project Type: Personal
1: The Hideout
I wanted to tell a short story where something paranormal happens, so I ended up settling for the idea of a duo of teenagers finding a literal portal to another dimension that mirrors the real world. The general idea was to include everyday, nostagic places with a paranormal twist.


The game opens with some story exposition that leads us into the first short area; the hideout. This mostly serves as a short tutorial for movement and to move the story forward.

The main duo finds a well inside their hideout. It hasn't been there before; it just suddenly appeared out of nowhere. The protagonist's friend, Rev, decides to go inside all by himself. Sam, our main character, decides to go after his friend, and this is where the game really begins.
2. The Well Entrance
After going down the well, you find what appears to be some sort of a facility. From now on, the areas are meant to be dream-like; you explore completely disconnected rooms, as if moving from one memory to another.

This area also acts as a tutorial, teaching the player how to pick up things; you have to find a key and use it to open the door to progress.
The first real puzzle room is also pretty simple; the door is locked, so you have to find a way to open it. There's a neon strip guiding you towards the other side of the room. By following it you can find a button that will open the door.
3. The mall puzzles
This part lets the player explore for a bit; as soon as you pass the backroom door, you will see some numbered posters teasing the next puzzle.
If the player looks around the room, they will find more numbered posters.

I've also left one of the gates in the room slightly open to let the player know there's something on the other side.

The player can also find a door out of reach; the ladder leading to it is too high up, so there's no way to actually access it yet.
At this point, the player can only enter the door with the glowing EXIT sign above it.
It's pretty hard to miss; the light makes it contrast with everything else.Entering the door leads to another short story sequence, which then brings us to the previously out-of-bounds upper area. The ladder will automatically drop once you get closer.There's a keypad asking for a password, and I made sure that the player would be able to see every numbered poster from before, right from the spot they're currently in (for convenience).

Can you guess the password just by looking at the screenshot above? I'll mark it as a spoiler, just in case you want to solve it by yourself!The password is
Once the player enters the correct password, the previously slightly-open gate will open completely, allowing you to pass.
4. The mall backroom
Cross the open gate to enter the backroom.

You can find a well-lit room where there's a button that will open another shuttle, revealing a shelf. There's a key on it that you can pick up.


You can use the key to open the locked door at the end of the backroom:

Looking back, if I was making this exact level again today, I would probably change this entire sequence. It's very easy to pick up the key before ever seeing the locked door, so many players might just end up picking it up and having no idea on what to do with it.
The door is also pretty hidden behind pillars, and it doesn't really pop up either... I would definitely make it more prominent now - that way the player would know they need to find a key to open this specific door straight away.
5. The mall entrance
After you enter the area, the protagonist will directly look at the entrance and address it;

Once you enter the laundromat room, a monster will appear staring at you through the window! If you keep staring, he will eventually make the lightbulbs explode and disappear.

5. The station
This is probably the area I was the most proud of. The second you arrive, you're shown a door with a keypad; you can enter a 4 digit code. Time to find it!

The level lets you take two paths; also, you might notice a little someone in the distance.

If you take the left path, you will eventually see a part of the keypad code on the wall. I also made sure the protagonist would comment on it once you look at it.

If you choose the left path, you might notice our little friend from before looking at you. He will hide if you get too close!

There's also another locked door and one that's actually open at the end of the corridor. As soon as you get closer to the open door, you will hear a sound of something opening - this is actually the previously locked door opening. Both of the rooms can now be entered, giving you the remainders of the code.
You can now probably guess the password on your own: just like earlier, I'm gonna hide it behind a spoiler in case you wish to solve it by yourself.The code is
6. PLAYPLACE
==Note: after you leave the station, you will eventually reunite with your friend. I'm skipping this part because it's mostly story related and this is already getting a bit too long.
The playplace is the next short area; I made it much more horror-themed than the earlier parts of the game. The main challenge here involves a short labirynth. There are some scares placed here; you can hear some walking sounds as you explore, and the monster will jumpscare you at one point. You can find a keycard here that will open the door to the next area.


7. hospital
The hospital is mostly just a bigger labirynth-themed level; right at the start you can see some locked doors. Pressing the button will open one of them; find all 3 buttons to open the rest.


Looking back, if I were ever to remake this game, I would probably either cut out this level altogether or change it heavily; having two labirynth levels right next to each other just feels pointless...
8. the streets
A mostly atmospheric level without any puzzles; there are some scares here. You can hear someone running behind you, and you can also see the monster still stalking you.


Additionally, you can see wells coming out of the sky!


You can find another door here, which will take you to the final room.
9. the hallway
This is the final area; you will start inside a hallway.

Once you take a few steps, the monster will appear and begin chasing you!
This is the final stretch; avoid touching odd goo on the ground, and run towards the exit. Once you do, the game finishes and the ending sequence will play.
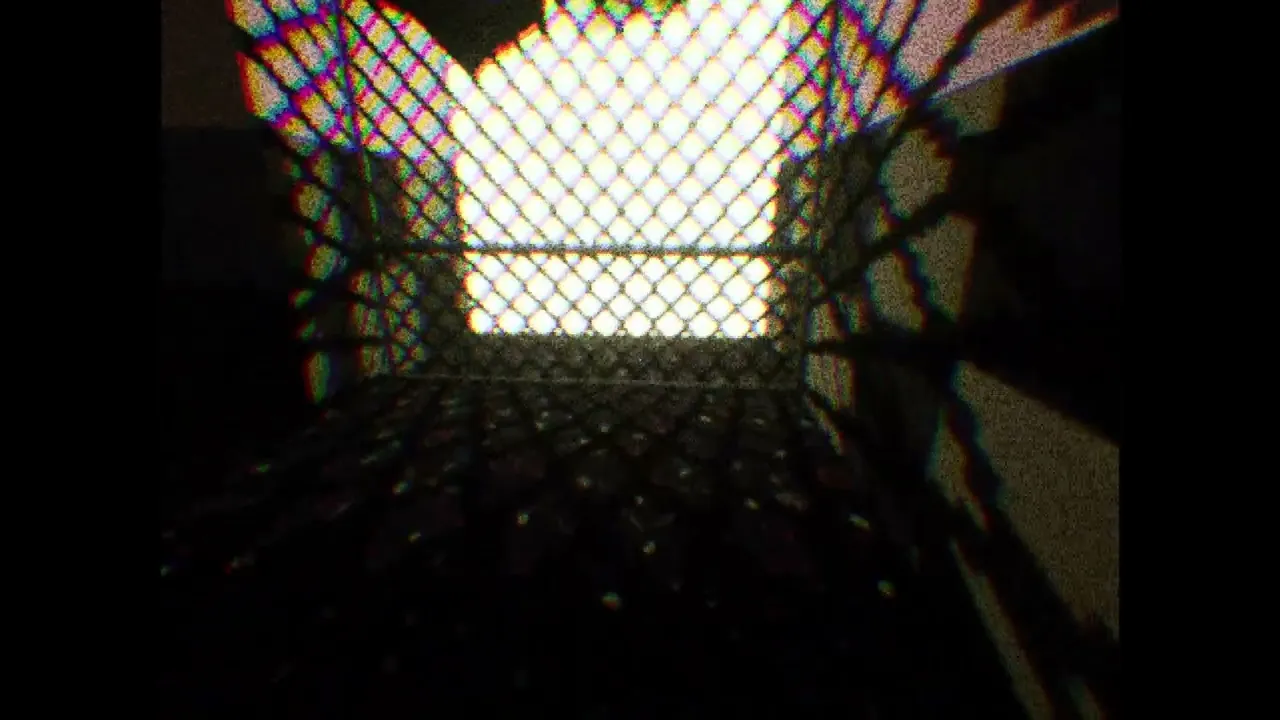
Behind the scenes / Scrapped areas
As I mentioned at the start, Something Inside The Well was my first finished project and my first actual attempt to create a 3D game; I learned how to create really basic, wonky 3D models (and how to texture them) as I worked on the project. At the time I also wanted for the game to have proper baked lighting, but I genuinely had no idea how to make it work (I CAN handle it now though! Just 3 years too late lol)

As a result all of the in-game lighting was movable rather than stationary/static (and I just ended up disabling shadows to keep the performance smooth).
Here are some old screenshots of various areas that didn't make it into the final game;
- an underground tunnel
- a short flooded subway level that made its way into the demo I made for my friends, but ended up getting scrapped (as it felt too short and pointless)
- some sauna themed stage
- various other smaller scenesA lot of those got scrapped because I couldn't get them to look good enough with my limited 3D skills and because they simply didn't...really work as levels. They were mostly just smaller pointless rooms.


Contact
Feel free to reach out, say hi or give me any feedback!E-mail address: [email protected]
Discord: @fiwwip
LinkedIn: www.linkedin.com/in/filip-strażak-593030293
Project CHTHONIC SIREN
About:
CHTHONIC SIREN is a short exploration-based horror project of mine where the player has to explore an abandoned clinic and find out what caused its residents to leave.My main sources of inspiration were series such as Silent Hill and the classic Resident Evil games; I wanted to create a game set in a maze-like location that gradually opens up as the player explores it.The game is still WIP, and this post will focus on the first level. Please keep in mind that this project is still being worked on, so many assets haven't been finalized yet.The game uses Horror Engine to handle the gameplay mechanics.
Almost all of the 3D models shown have been created by me (with the only exceptions being the lighstick, the keycard, and the monster).I've designed the level, wrote the story, set up the lighting and meshed the entire thing by myself. All audio has been sourced from zapsplat.Engine: Unreal Engine 4
Project Type: Personal
LEVEL SETTING / INITIAL CONCEPTION
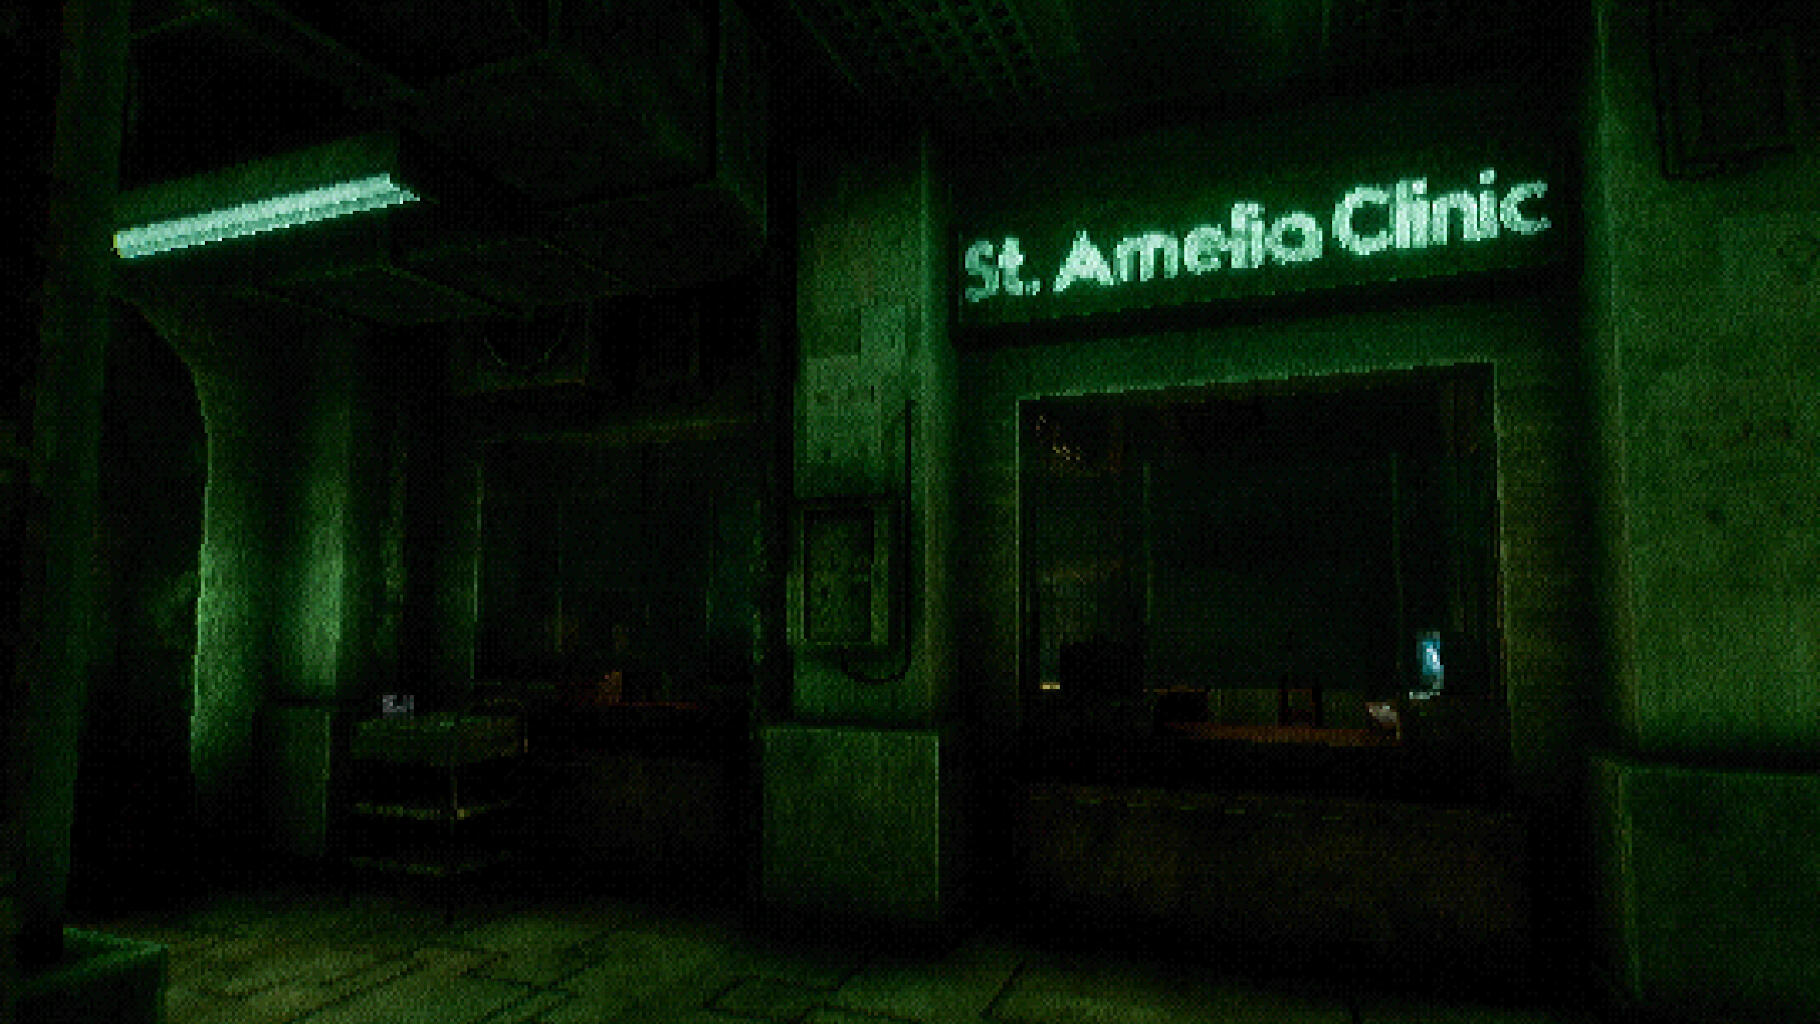
The game is set inside the St. Amelia Clinic - the place has been shut down not too long ago, so it's not in complete ruin and things like electricity are still running!You ended up stumbling inside, and you're about to find out what caused this place to become abandoned.
Conceptualization:
The very first concept behind CHTHONIC SIREN was to create a game set in an old, abandoned building. I started by mapping out some key ideas about the game:

Some of those ideas included:
- Multiple floors set in a retro-themed clinic/hospital building
- A flashlight (this was eventually reworked into a lighstick)
- Areas without any light sources that force usage of the flashlight
- Silent Hill/Resident Evil inspired level design where the player solves puzzles and gradually opens locked doors and accesses new areas
- A story approach inspired by Silent Hill: The Short Message, where exploration is rewarded by giving various story tidbits in the form of letters or notes
Level sketching phase:
After finishing my list of ideas, I drew a rough picture of how I imagined the first floor of the clinic. Here you can compare it with the more finalized product:


While the general layout was mostly left unchanged from this sketch, some things (such as the puzzle) were completely reworked, and the diagnostic room was changed into a storage room (used for a puzzle).
After finishing my sketch, I blocked out the entire floor. Here are some comparison shots of the original blockout and the mostly finished product:


1. RECEPTION / WAITING ROOM
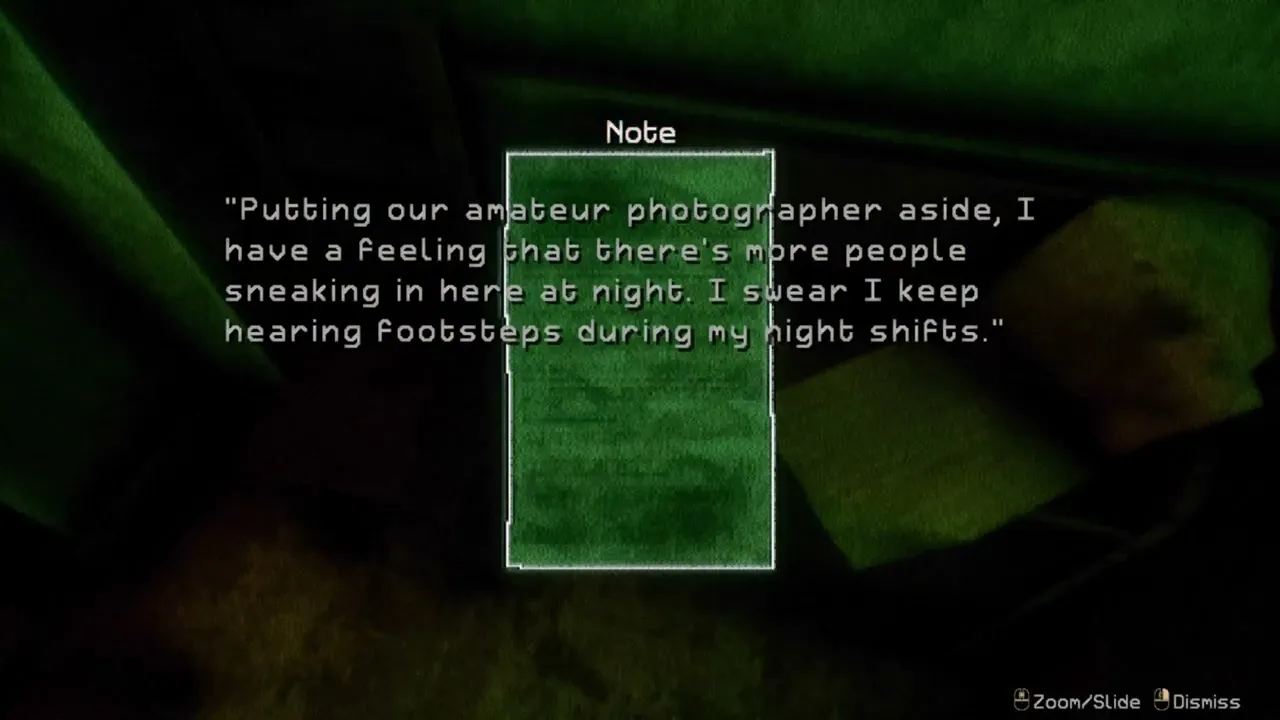

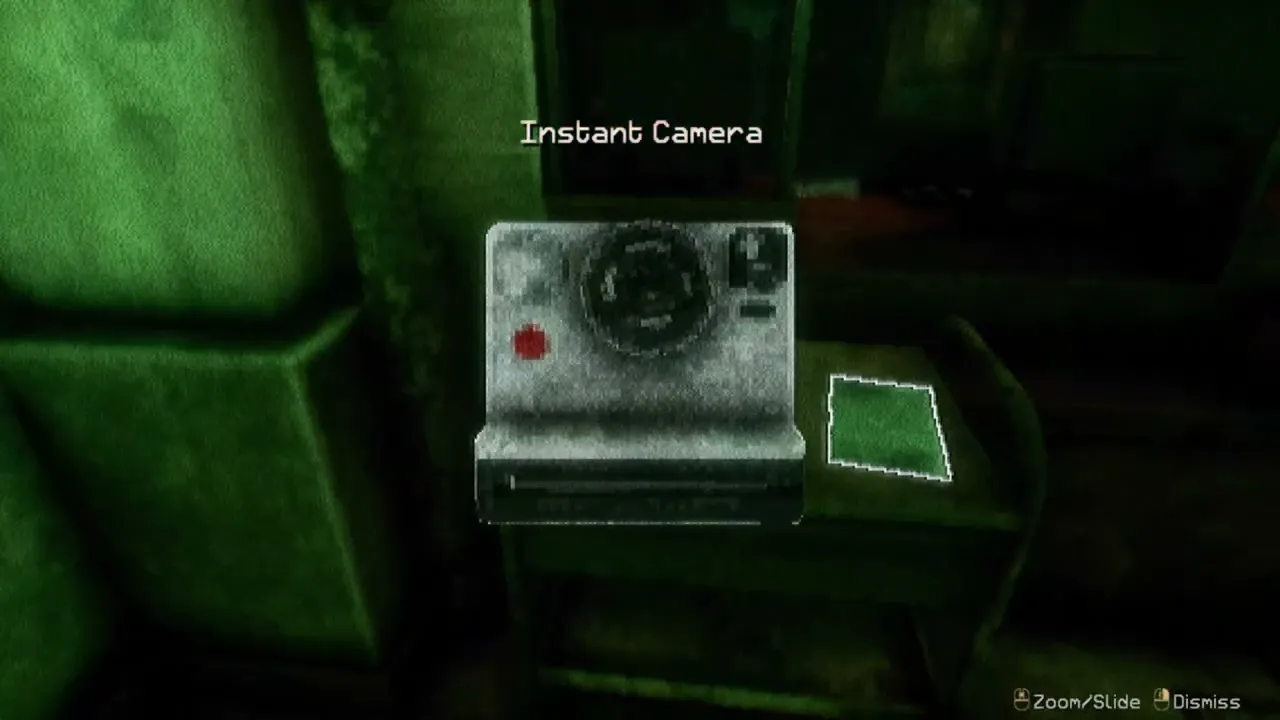
The level opens inside the entrance area; from here the player is on their own, left to explore the clinic. Some points of interest in this general area include:- A glowing computer behind the glass on the reception desk - this immediately gives the player a goal: you have to reach that computer and see what it's about!- Some interactive items, meant to set up our first storyline. You can find a camera and notes mentioning a photographer sneaking into the clinic at night in the general reception area.


- A locked door: there's a keycard reader right next to it; it gives off a strong red glow, catching the player's attention. You can interact with it to be prompted to use a key item.- Inside a waiting room there's an elevator blocked by a shut gate.


2. RESEARCH WARD: part one
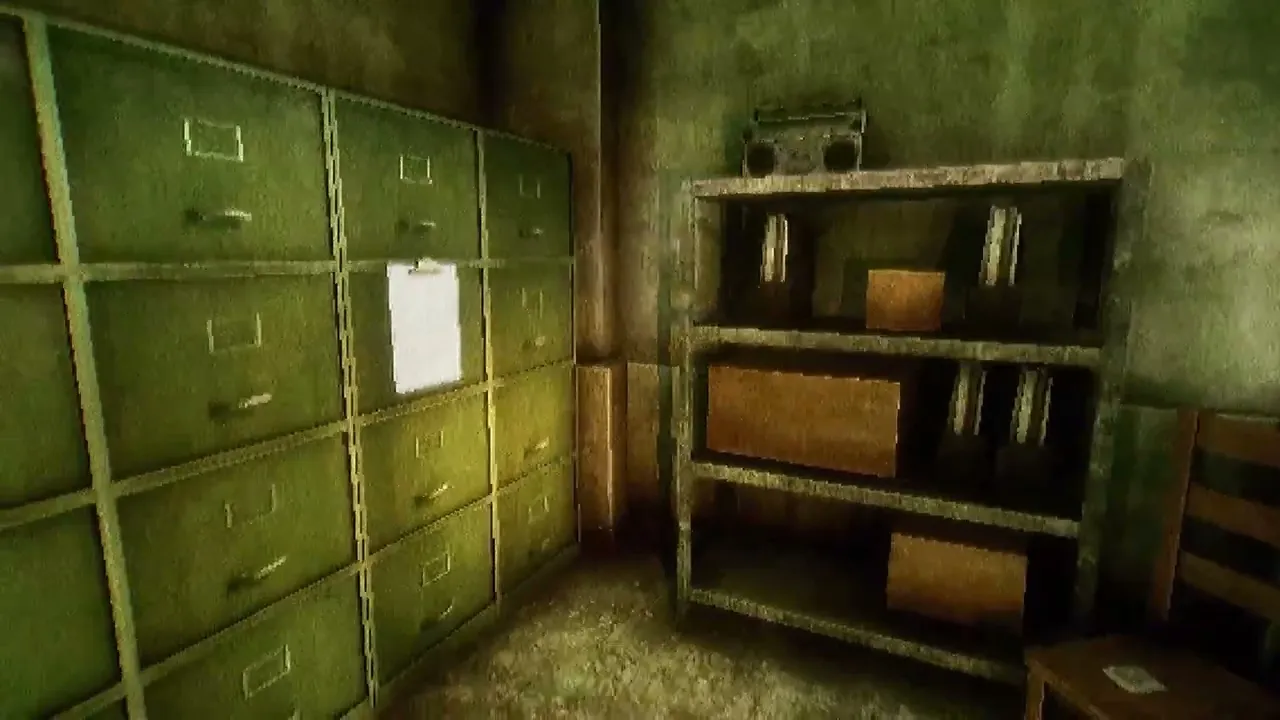

Take the door on the east to enter the research ward. The very first thing you will see is a locked door; you will need a regular key to open it, as there's no keycard readers nearby.You can also enter some research rooms; if a room can be explored, you will see a light source coming out of it. If it's not explorable, the doors will be blocked by various props and also hidden by shadows (so that the player can immediately tell which room is explorable, and which isn't).


Each room has at least one item to inspect or a note to read so that the player won't feel like they're wasting time entering every room. You can also pick up photographs - some showing lore-related things, like the clinic itself. They were all taken by the photographer mentioned in the entrance area. Some photos depict various wooden cubes - this is a small tease of the first main puzzle.


One of the rooms will blocked by a giant metal cage. You can still see some light shining past the cage, implying there's something on the other side.
Inside another room you can also find a broken antler; this works as a tease of a certain threat lurking inside the clinic, and also serves as the first scare. If you keep looking at the antler for too long, the lamp inside the room will overheat and go out with a loud sound!


2,5. RESEARCH WARD: part two
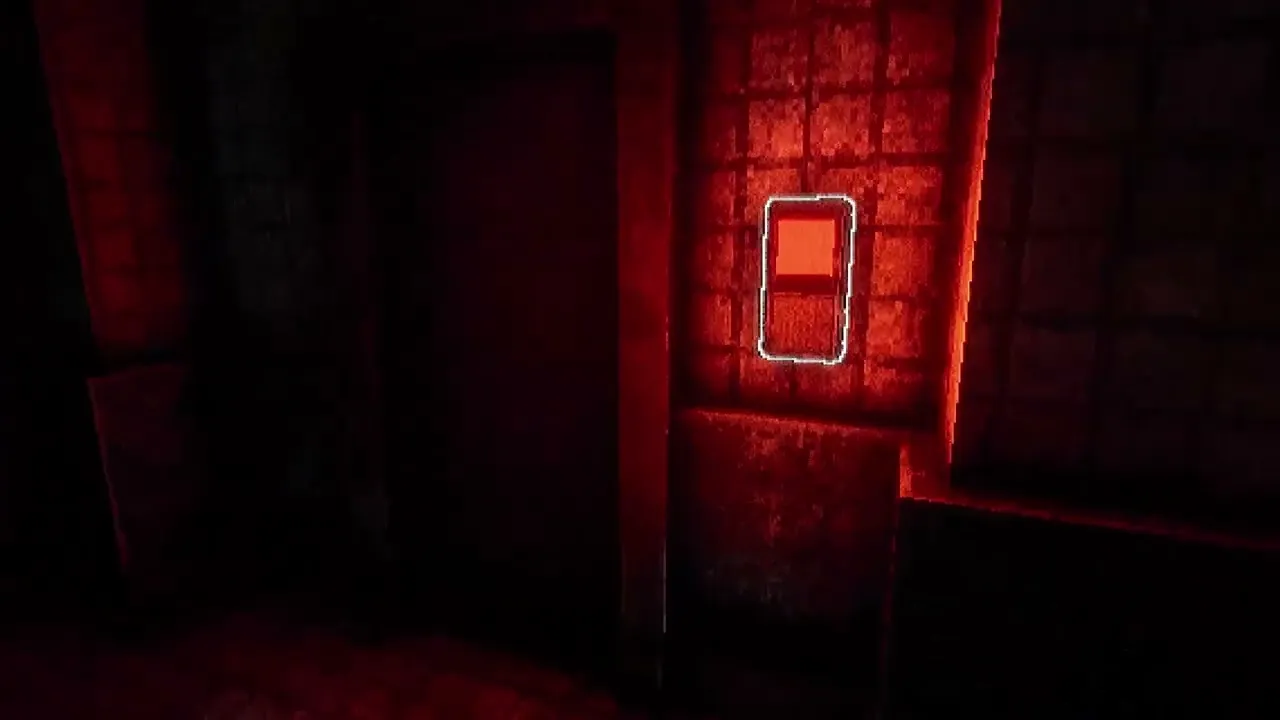
The final stretch of the corridor has more glowing keypads that you can't interact with yet. The very last room will have a key inside.


Pick up the key and head back. A loud scratching sound followed by a giant thud will play in the distance (make sure to click on the video above and turn on audio to hear it). Keep walking down the hallway, and eventually you'll see something moving in the distance.
I purposely made the corridor really dark and slightly foggy. The main benefit is that it makes the game scarier, but it also obscurs the figure walking in the background. The fear of unknown really enhances the horror, and from now on the player will feel uneasy exploring the clinic. Whereas previously the clinic was just quiet and seemingly abandoned, now you will question whether you actually saw something moving in the distance or if it was just your mind playing tricks on you.I can spoil the scare for you right here, though.This was actually a scripted encounter; once you pick up the key, two things happen:- the game waits a few seconds, and then plays the scratching & thud sound effects (I didn't want this to feel OVERLY scripted, so the sound doesn't play right away; instead it only does so after the timer expires.)
- as soon as you make the turn in the corridor, a deer monster spawns in. I adjusted the fog so that you could just barely notice his movement in the background. He will turn around, and walk out of your sight.

I specifically placed him in the corridor, as that's the only area where you can truly roughly control where the player will be looking (since unless you're literally walking backwards, there's no way of missing him).This guy is actually a store-bought asset (as I can't really model characters). Since he's a deer, I added some deer-related symbolism to the game (like the stray antler you can pick, or a photo of a cube with a deer painting on it).
Anyways, you may also notice that the previously-blocked room is now open, implying this is where the monster came out of:


You can enter the room and find a bonus note.


The monster encounter and the newly-entered room both serve as new things to see, so while you're technically backtracking, it doesn't feel boring.
At this point all you can do is use the previously-found key to open the locked door.
You might also notice that the monster appears right next to this exact door; I wanted to remind the player to check it out, so that's why he's initially seen right next to it!

3. THE PUZZLE ROOM
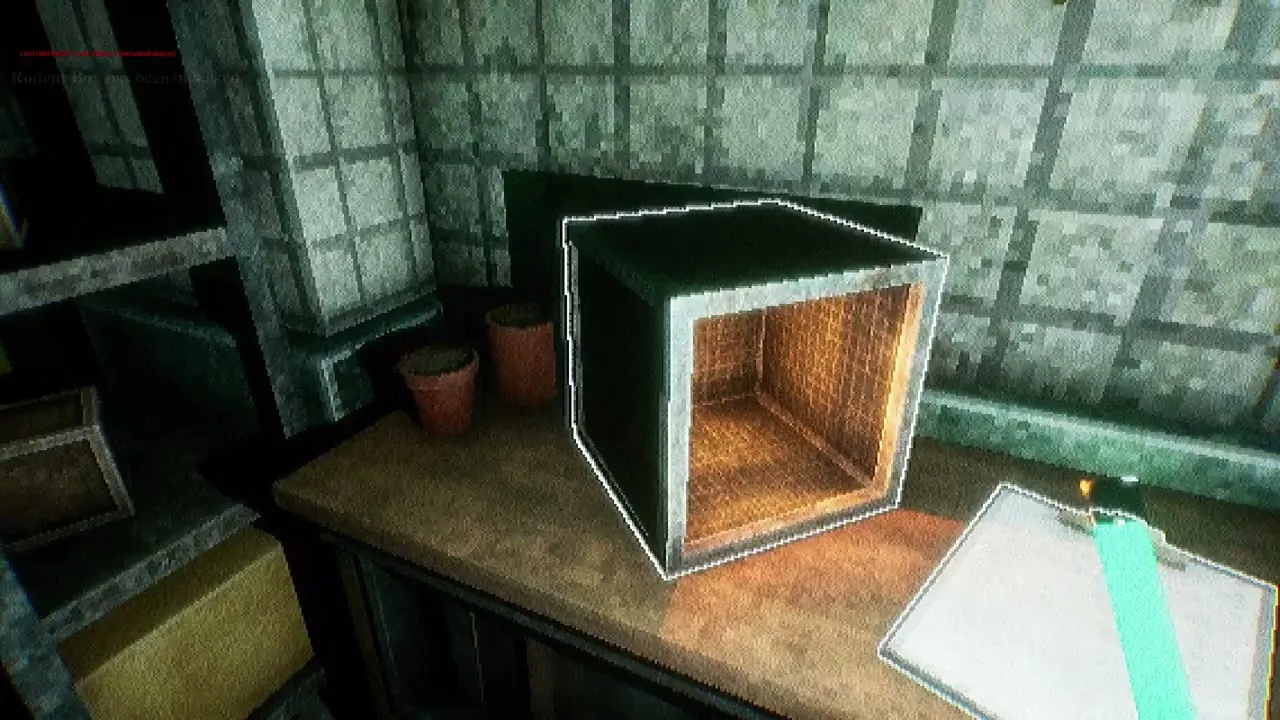
Once you enter the room, the gate in front of you and behind you will shut down. You won't be able to leave until you solve the puzzle.The first thing you will see is a table with a wooden cube and a glowstick:

You can take both. The glowstick will help you see in darkness, while the cube will be neccessary for the puzzle.After you look around the room, you may notice more wooden cubes, and 3 glowing boxes.


IIf you interact with any of the boxes, you will be prompted to use an item. Each box also has a clipboard next to it. You can interact with them to read them:


You may also notice that the wooden cube you have picked has a mouse pattern engraved on it:

The goal of the puzzle is to place cubes in the proper boxes. Each note's contents are related to the patterns on top of the cubes. For example, the Mouse Cube needs to be placed inside of a box found next to the note mentioning issues with rodents.
The player has to find the remaining two cubes by looking around the room with the glowstick. You can find a Man Cube and a Deer Cube.


You might also remember those cubes from the photographs found in the earlier parts of the level!

At this point, you only have to place the remaining cubes in proper boxes.
The Deer Cube belongs in the box placed next to a zoo pamphlet mentioning newly opened deer sectors.
The Man Cube inside a cube next to the self-help book mentioning young adults.
After you place every cube in the proper box, both gates will open; you can now leave the room, and also take the keycard.
4. staff room / elevator
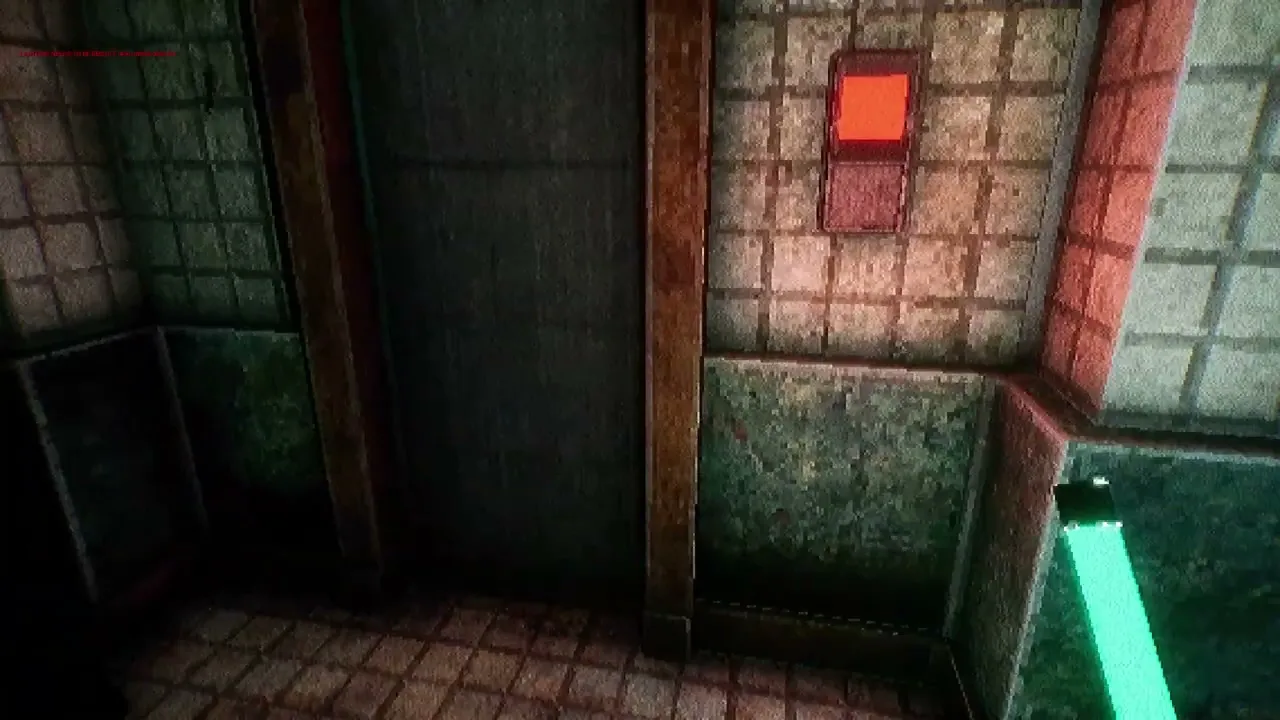

Time for the final stretch of the level;
Once you leave the puzzle room, you will probably notice almost all lights are completely out. Some corridors (and the exit) have been blocked by more metal cages. The audio ambience also changes.At this point you basically need to use the glowstick to navigate.Since the way to the research ward has been blocked, you can now only head back into the reception area. Since all lights are now completely out, the only things that can still be seen are the computer screen and the glowing keypads.


You can now use the newly found keycard to open the keypad doors, leading into the staff room. From here there are 2 things you can still do.
First: get inside the reception desk area, and use the computer to open the elevator gate.
Second: You can keep exploring the staff room, and eventually you'll reach the other side of the research ward. You can now use the keycard to open another previously locked door, and find the last photo:

Once you're finished looking around, simply enter the elevator. This will end the level.
The end
Thank you for reading up until this point!The first floor of the clinic is just one of the planned levels for CHTHONIC SIREN and hopefully as I keep polishing and developing the game, this page will keep growing!In the meantime, you can head back to the home page and check out more stuff.